By: Kevin
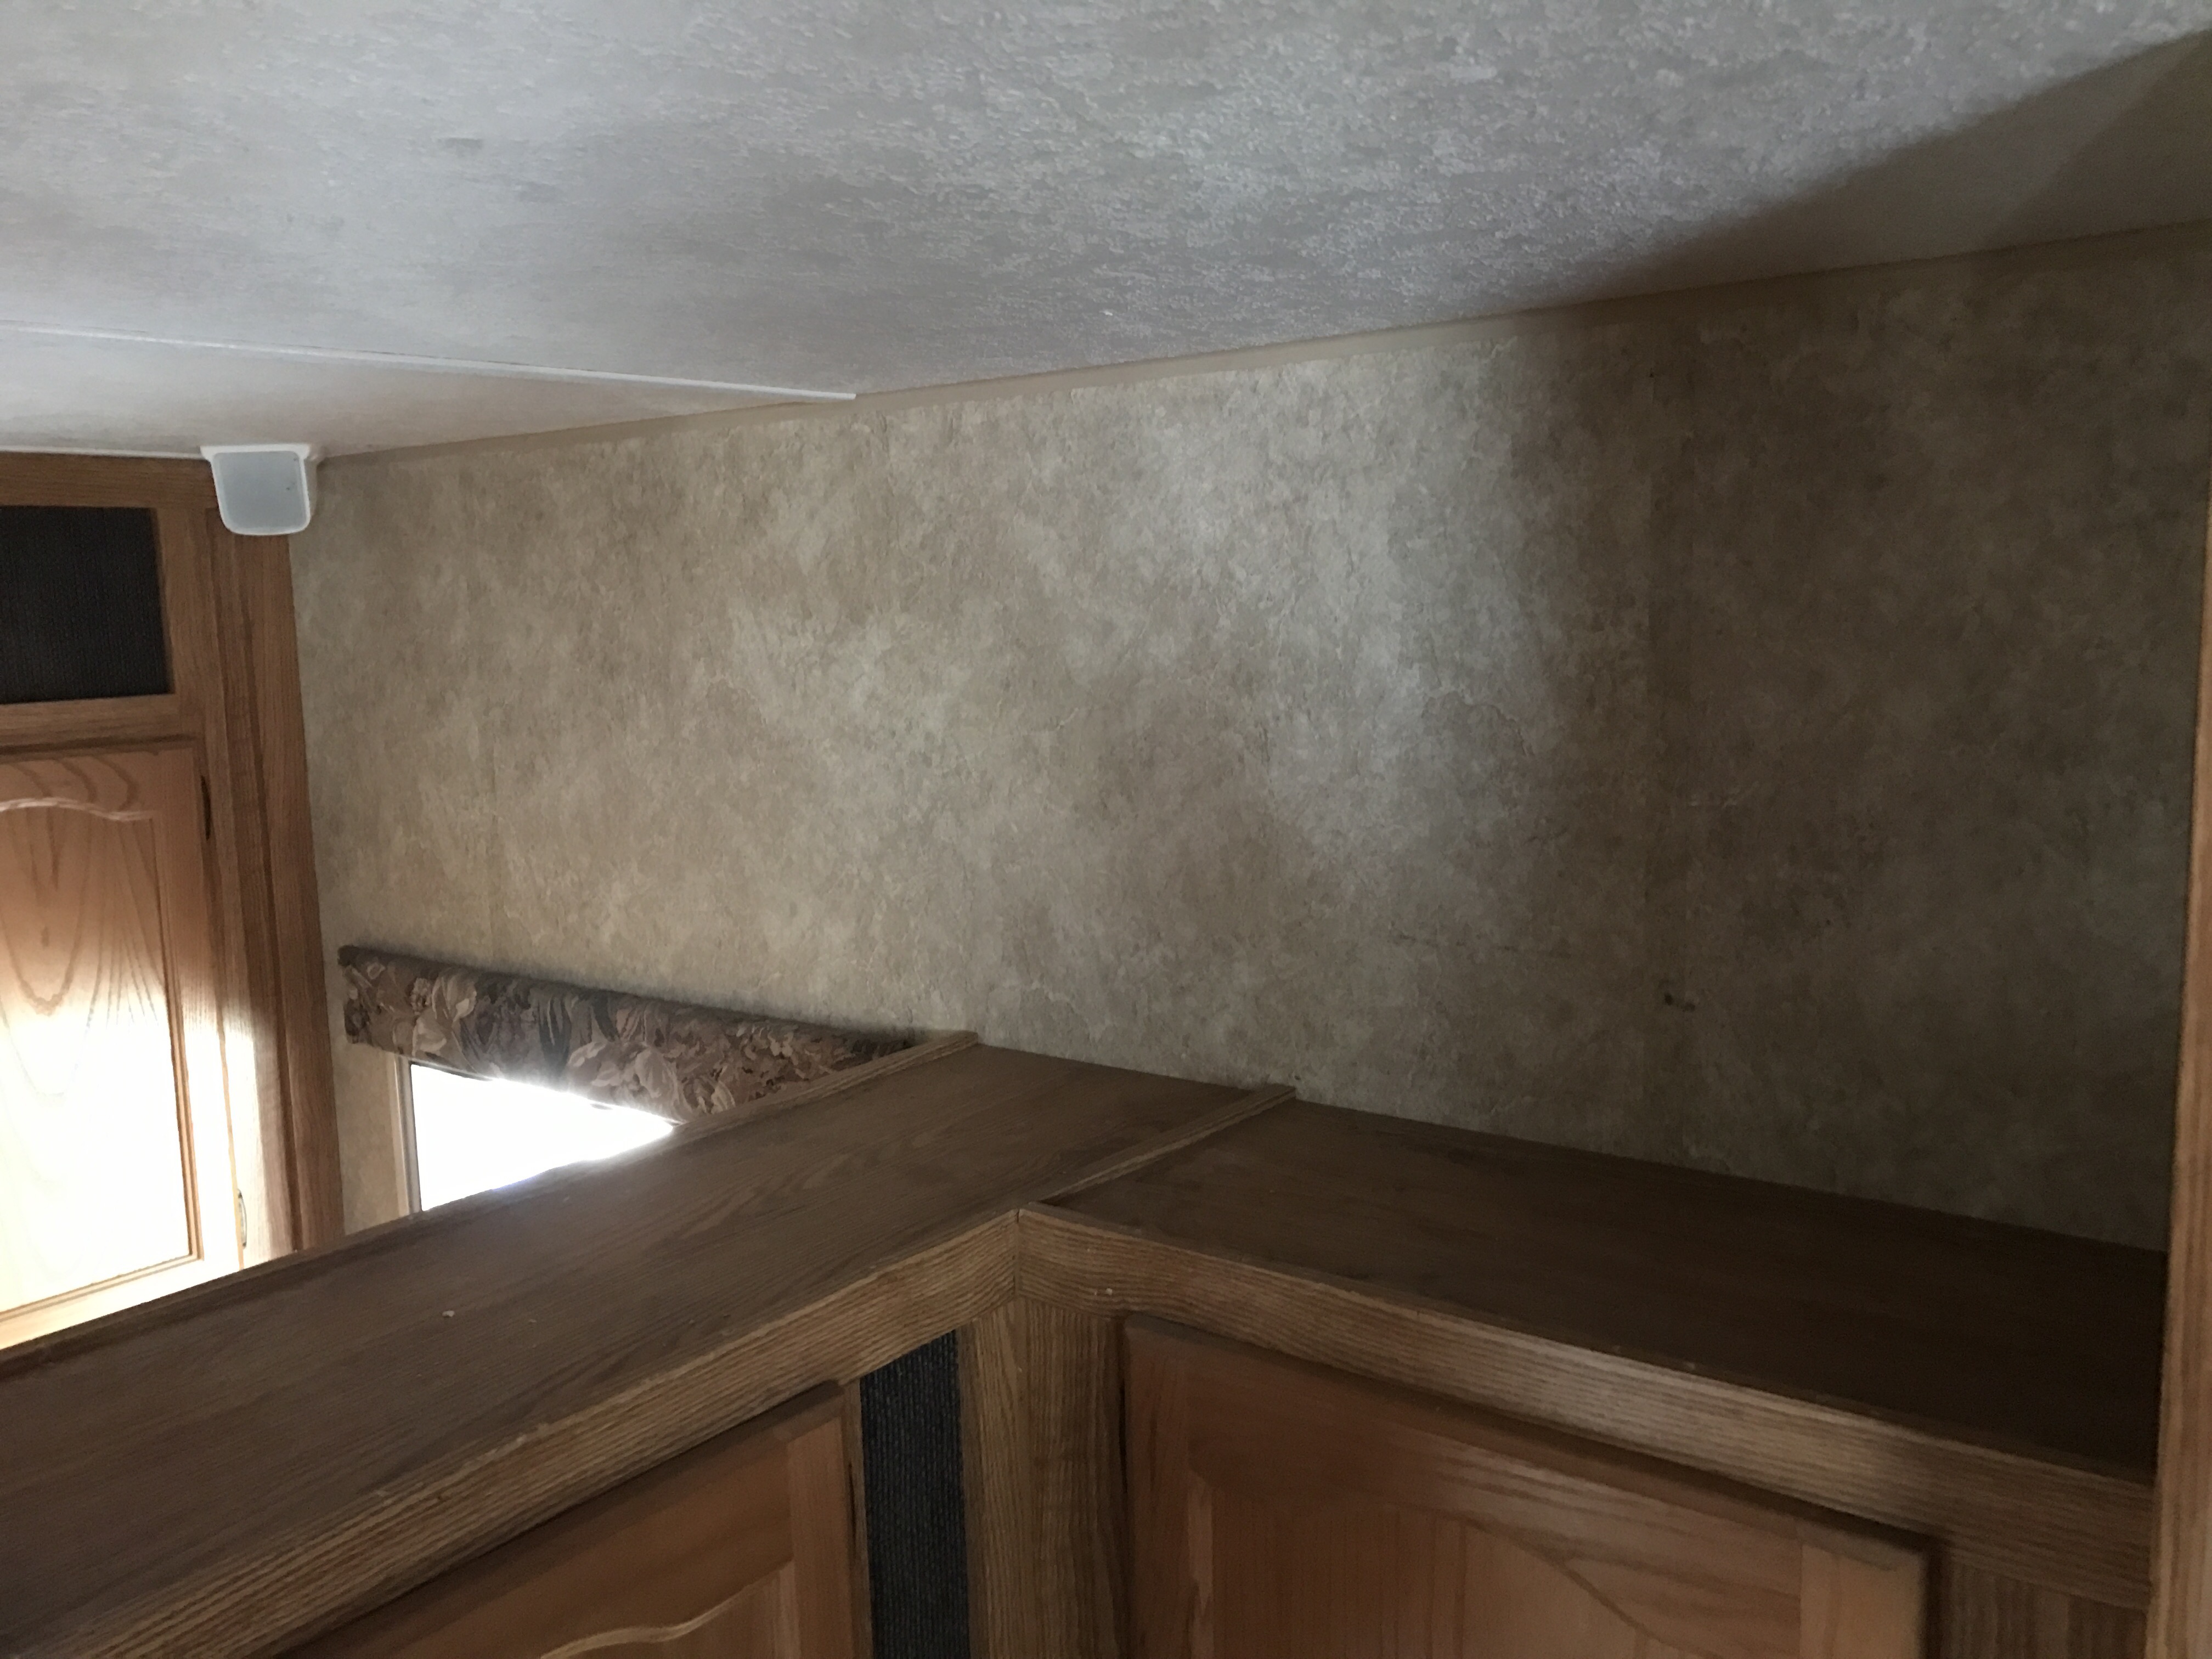
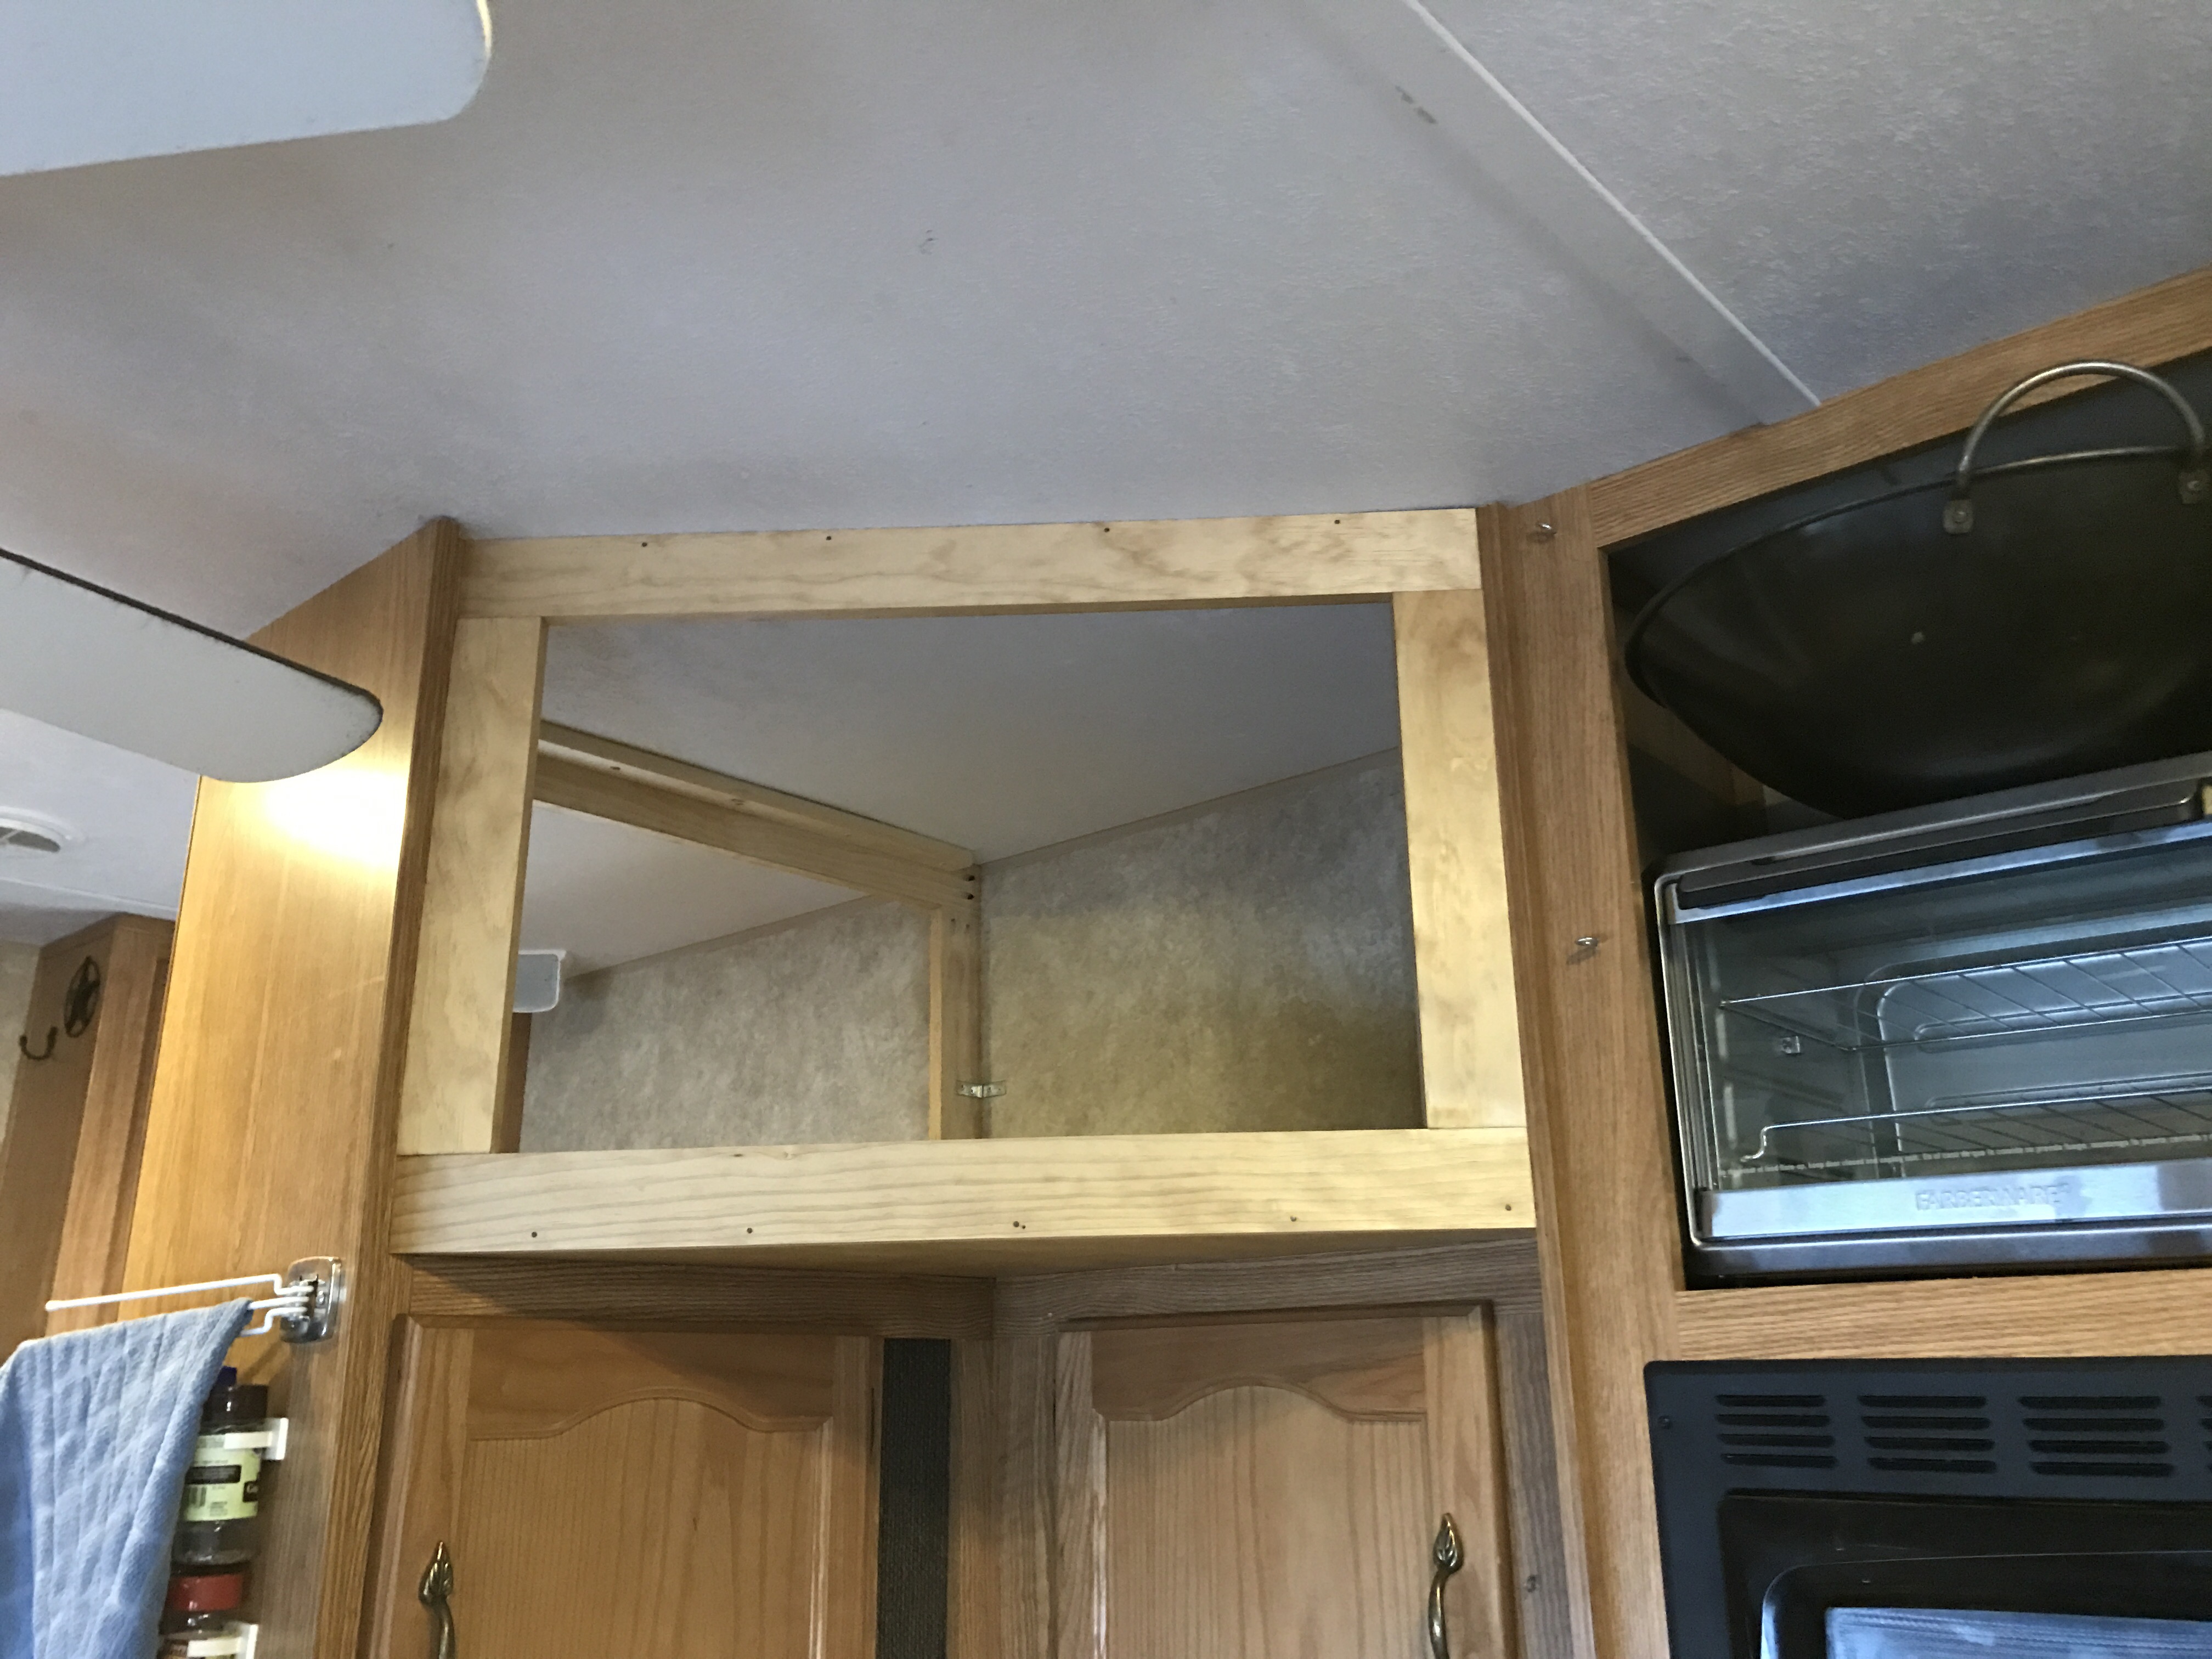
Above our upper set of cabinets in our RV we have a lot of open space before the ceiling. We have used this space to store kitchen bowls and corningware, but between dust and airborne grease particles we seem to need to rewash clean dishes stored up there before using them. The space is also a bit narrow for some things to really be stored there, and some items must be moved prior to taking the RV out on the road.
Since purchasing our RV we decided that while it is nice, we do not expect to resell it for anything over whatever a dealership offers us for a sight-unseen trade-in for a newer unit (someday, maybe). Therefore, we have felt free to customize, revise, and alter the RV to best suit our needs. We are NOT afraid to drill holes in it.
So, this weekend we purchased the supplies to add an enclosed cabinet above our upper set of cabinets to really maximize the space and keep the dust and grease off our dishes.
To give you an idea of what I am talking about, this is what we started with.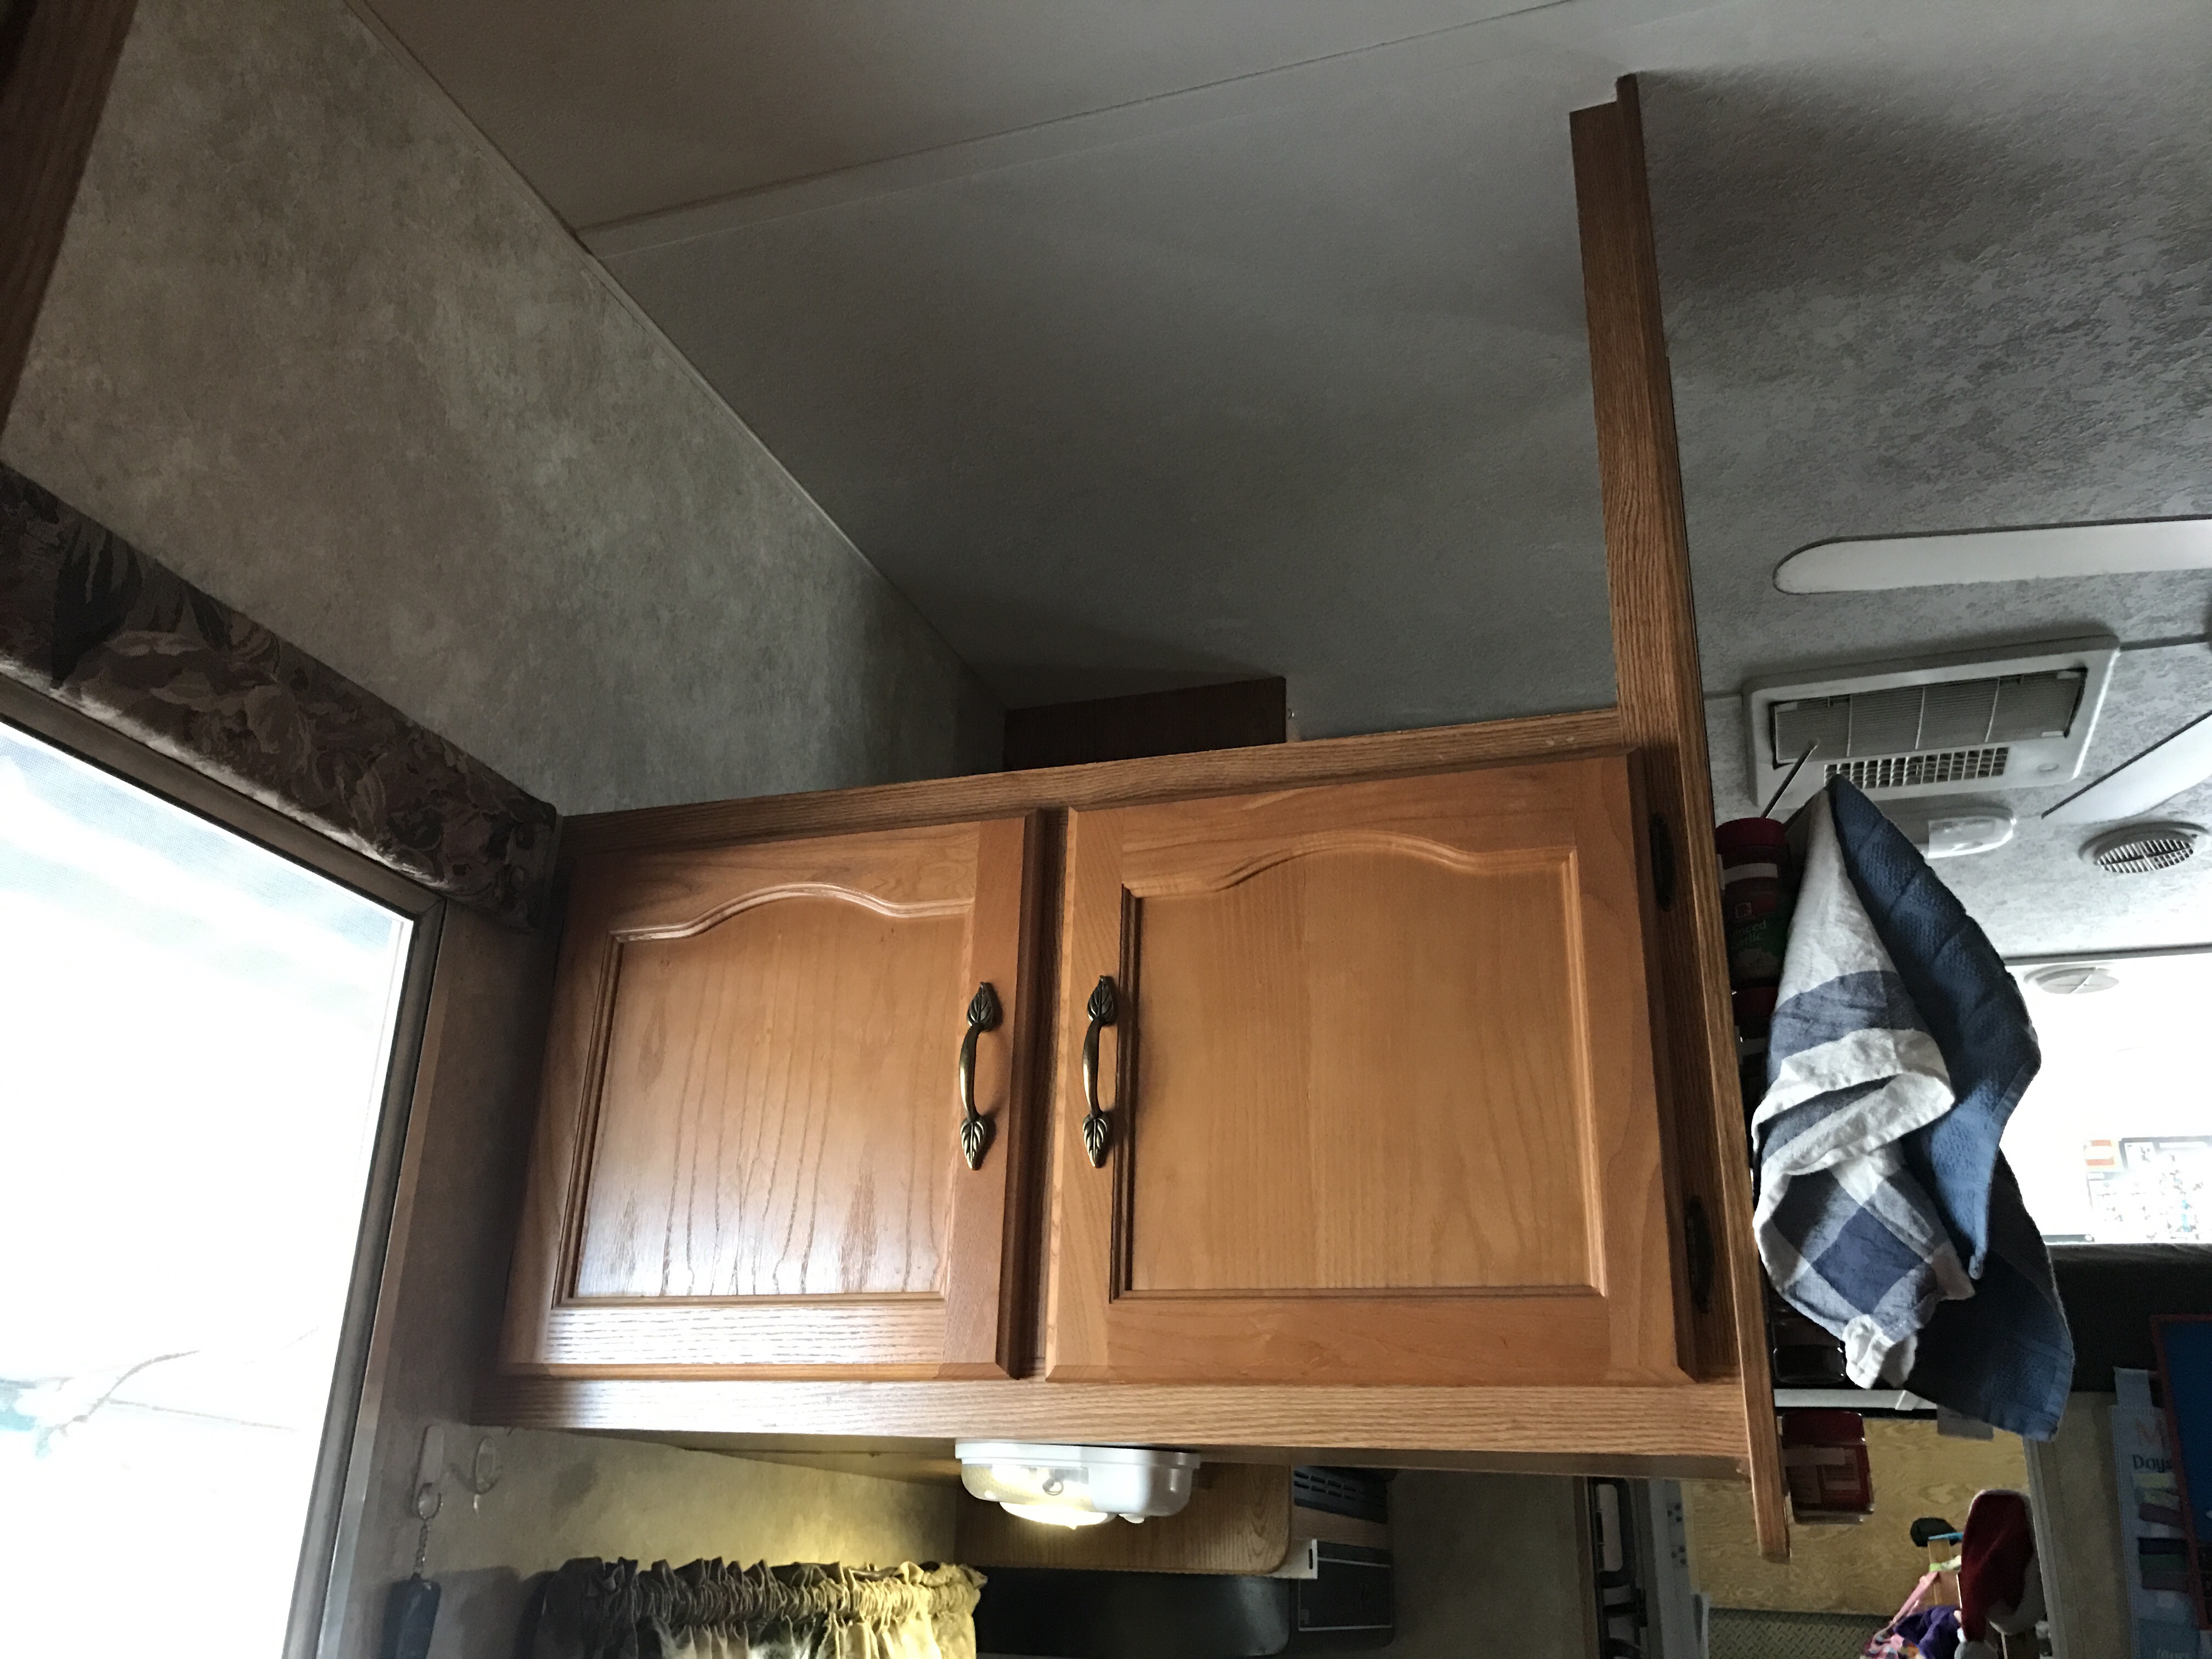

I added a base of grade B plywood on top of the cabinets to span the distance between the L-shaped existing cabinets so we could utilize this empty space. I also did this to give the new cabinet a single, level bottom. I picked out some stain that would at least be close to the original cabinets, even if it did not match exactly.
Then I began building the door frames out of pine boards for strength and aesthetic appeal. The frames are attached to the original cabinets, the wall, the new plywood cabinet floor, and the ceiling to spread the additional weight out and not overload the original cabinets.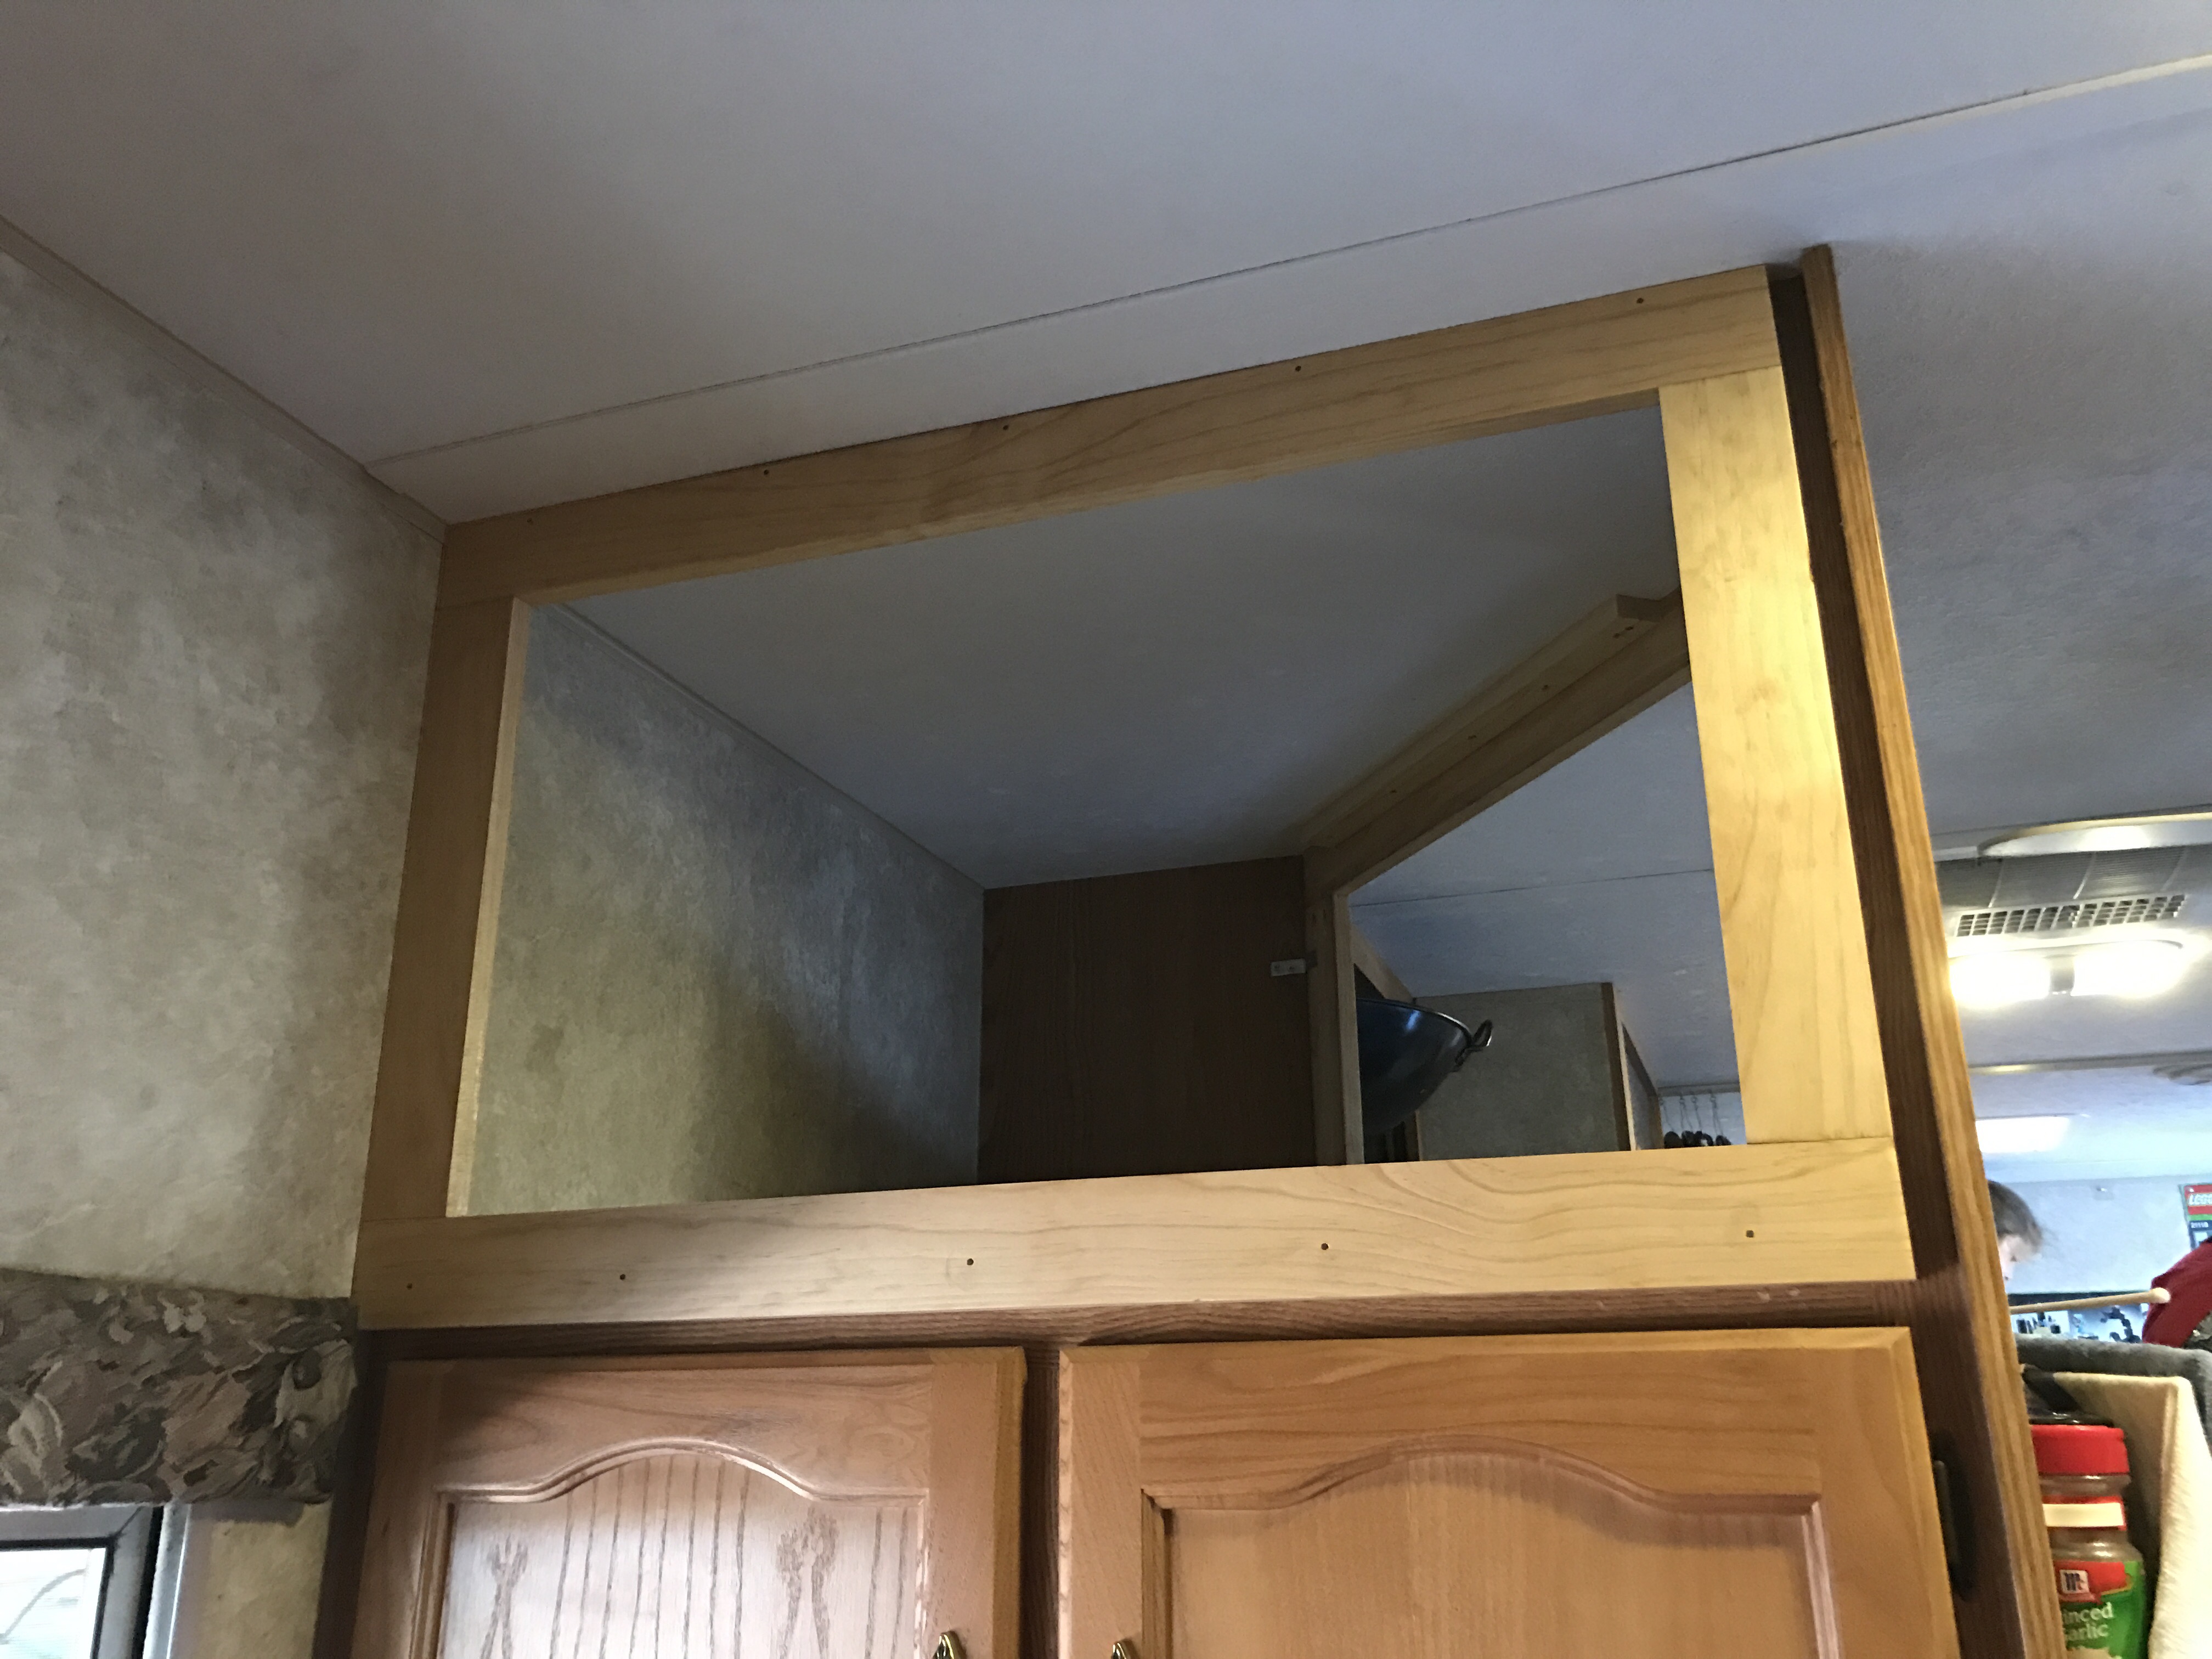
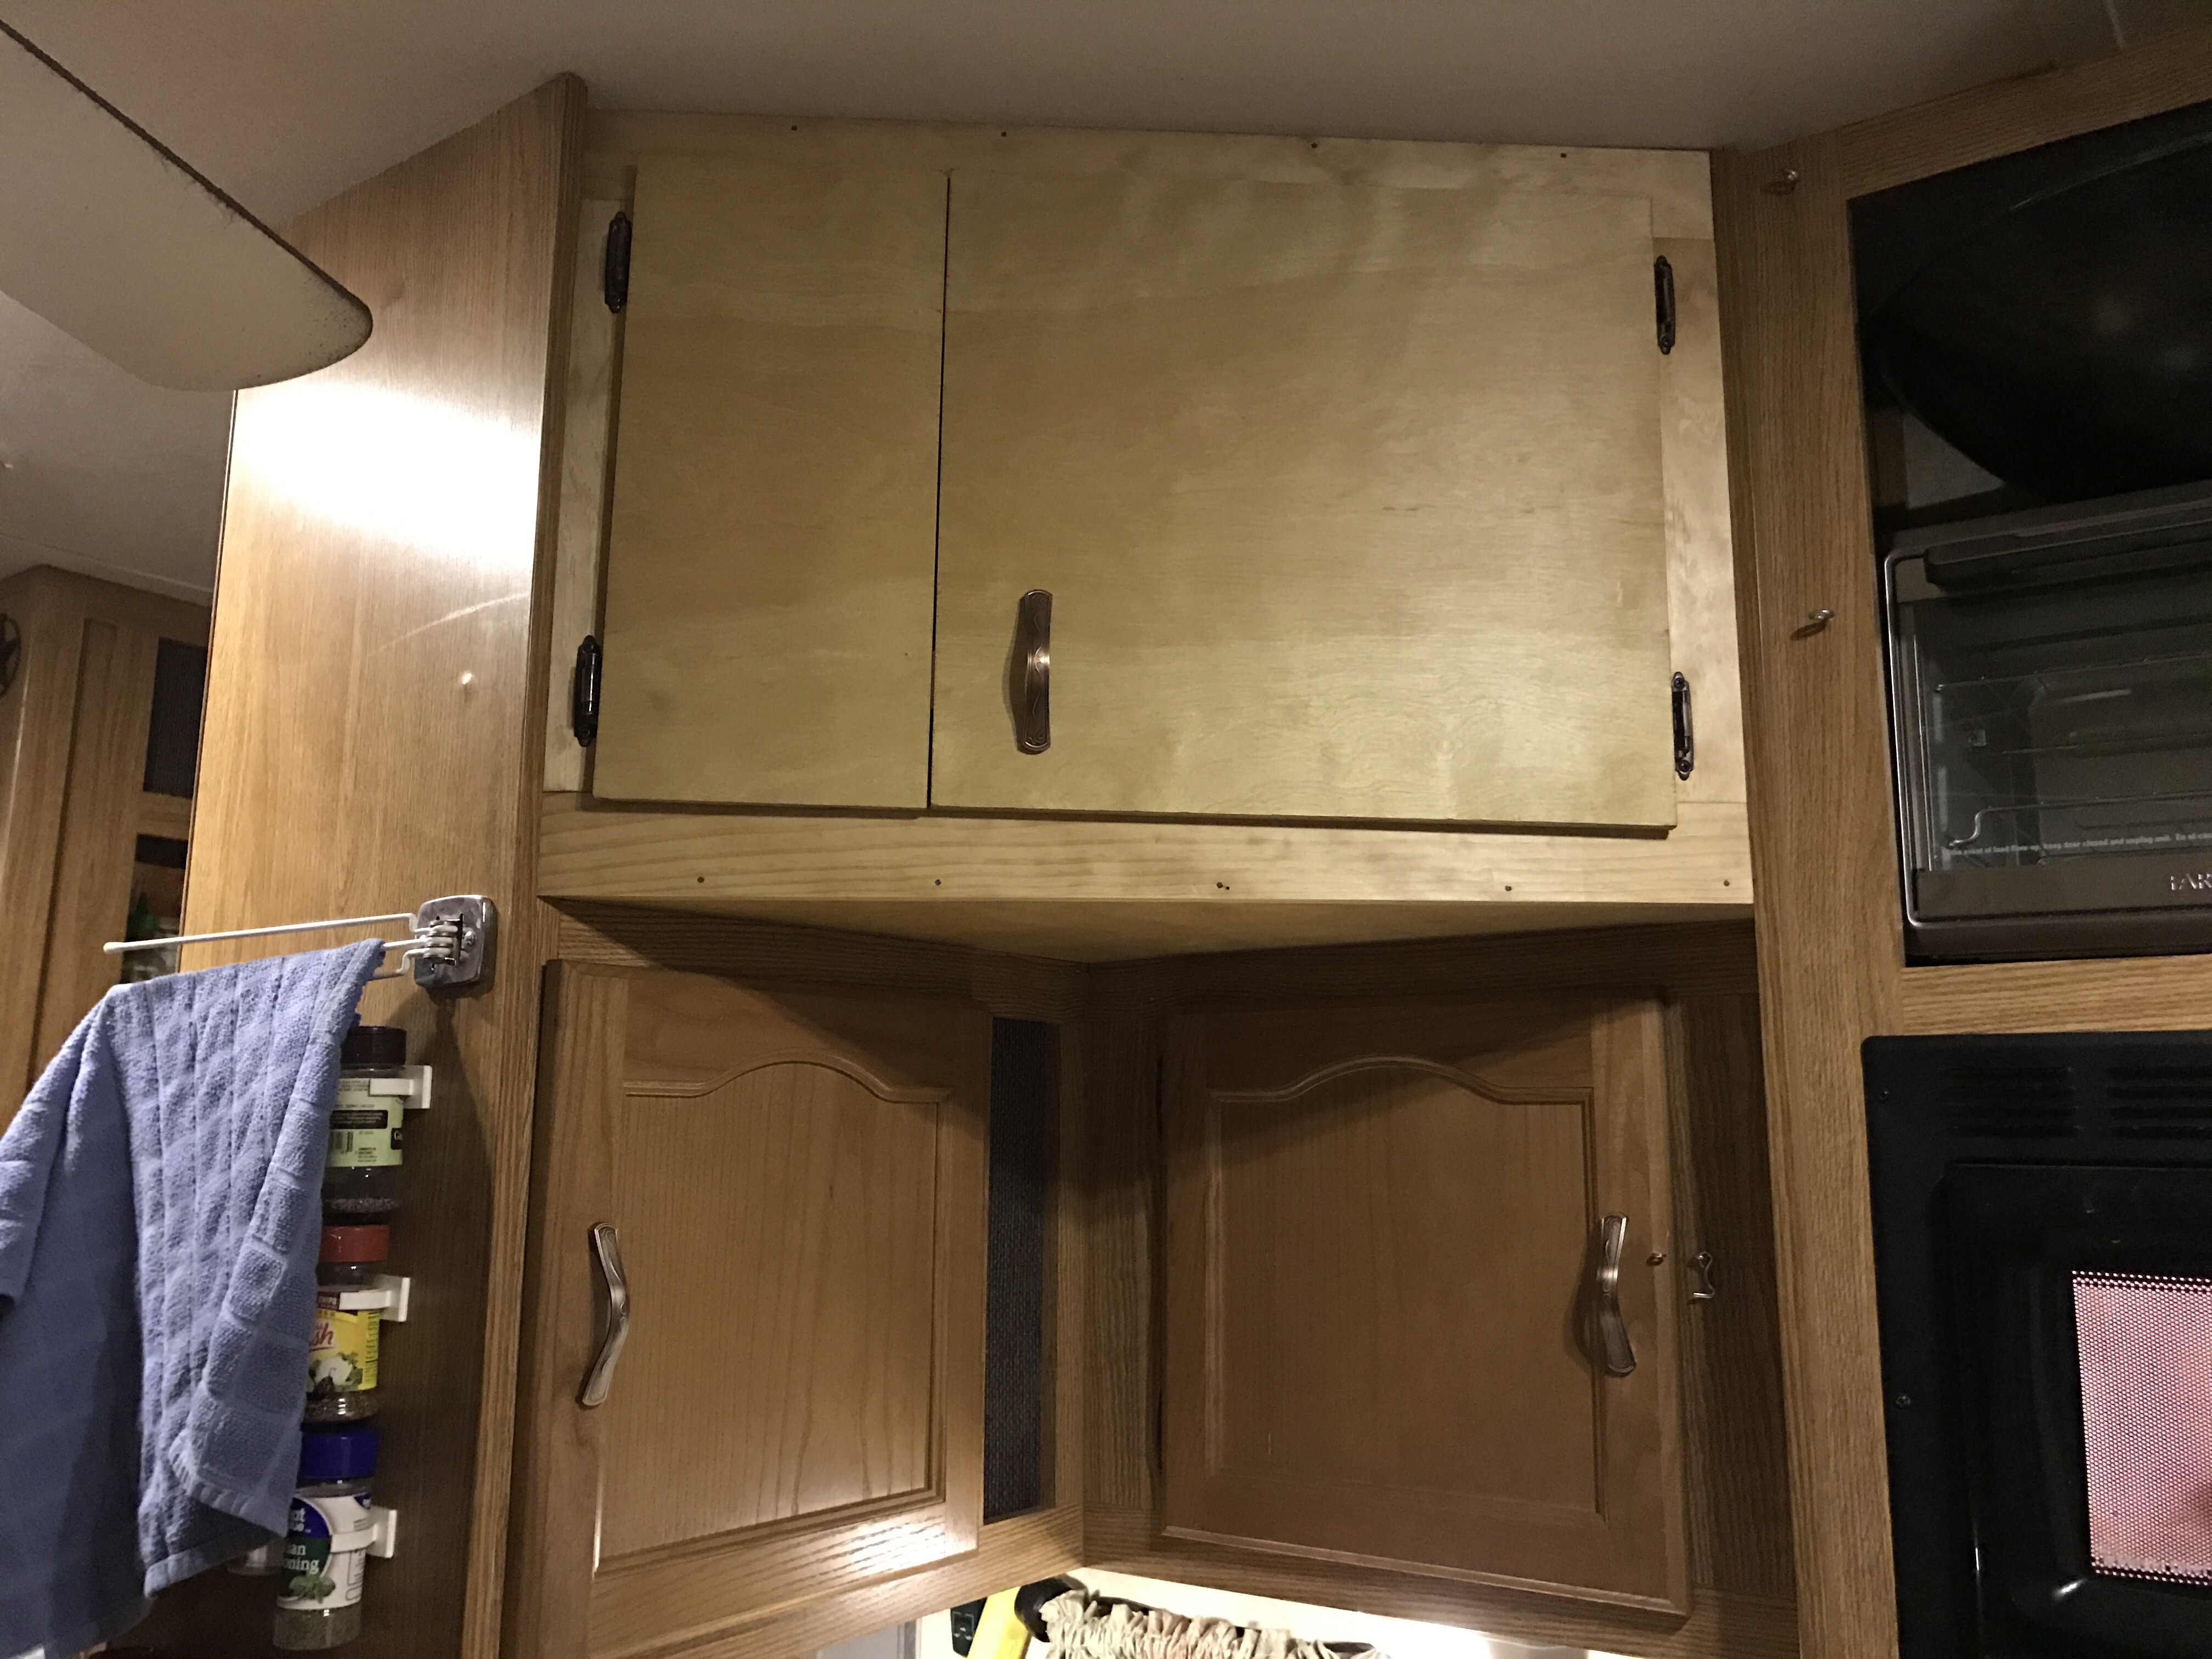
I made doors out of the same grade B plywood I used for the base because a 3′ x 2′ single board is insanely expensive and I had to buy a full 8′ x 4′ sheet of plywood, so I might as well use it. I don’t exactly have a garage to stash it in until my next project. A few hinges and handles, and we are all set to use it.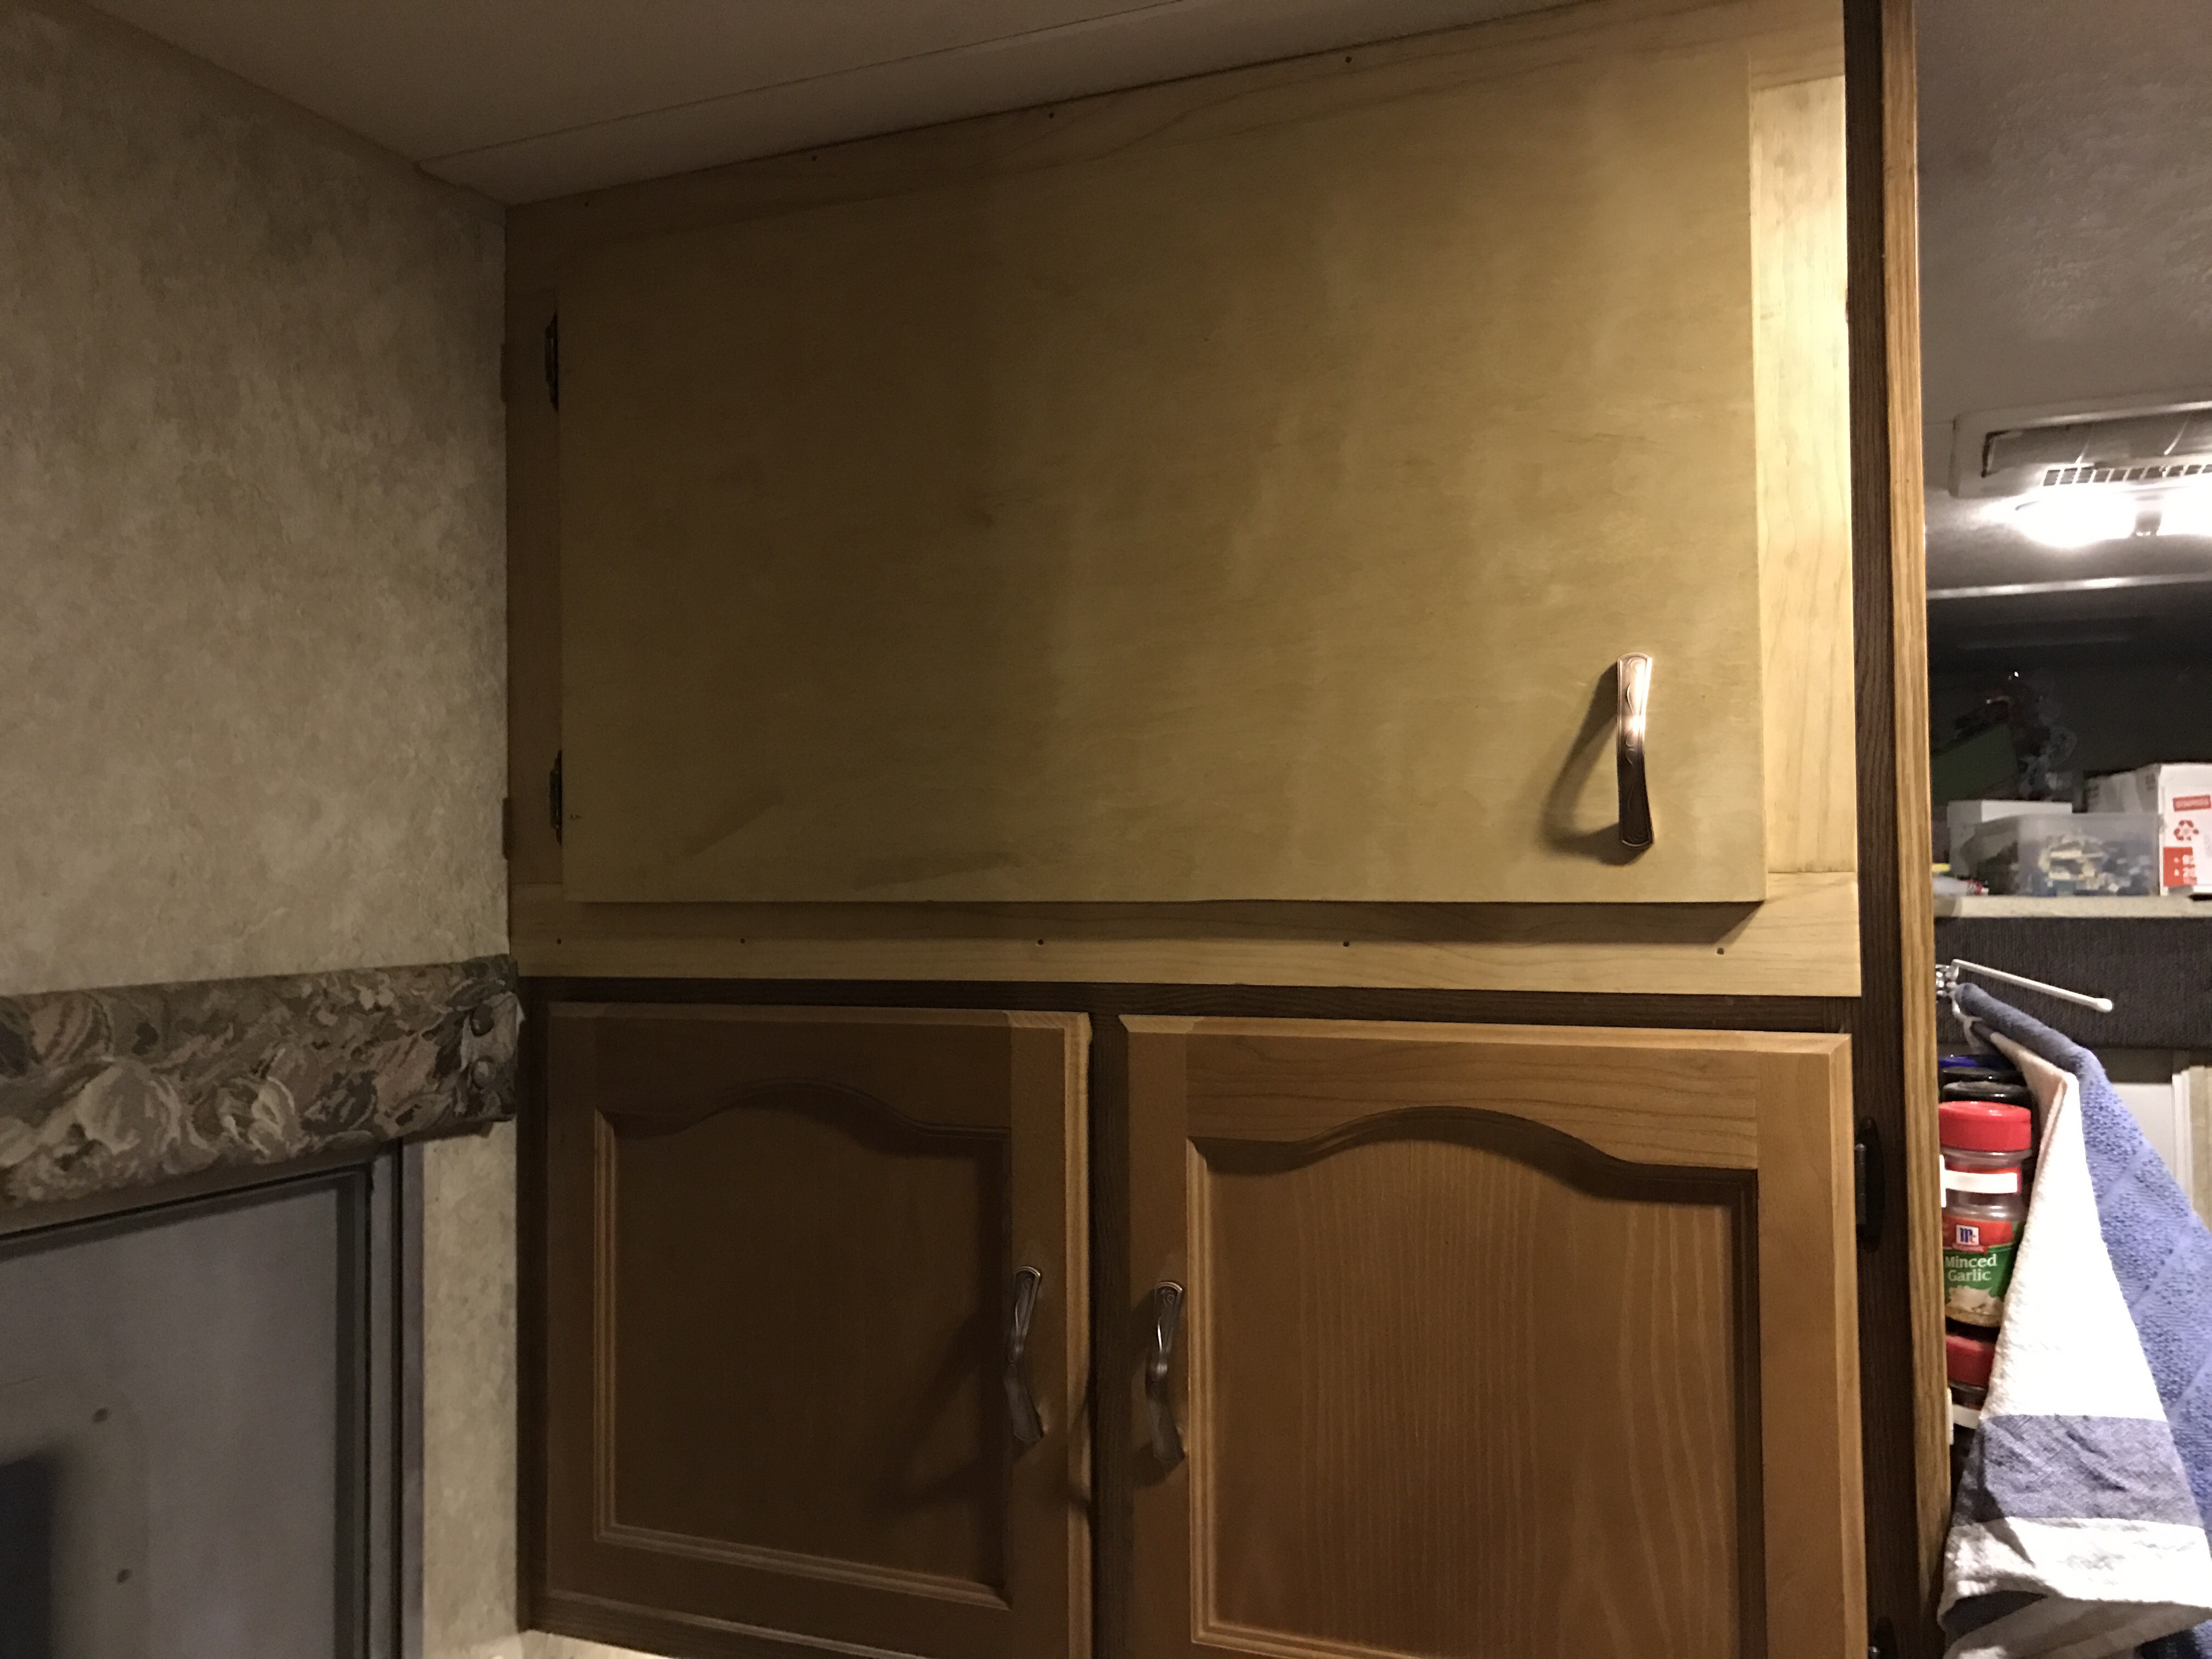
On this cabinet door, if I had made one single door, the swing of the door would have entered the path of the ceiling fan. To avoid fan strikes I made a larger door with a few inches of safety margin that can be opened with the fan running. The smaller door can be opened when the fan is off to allow better access to things inside the cabinet.
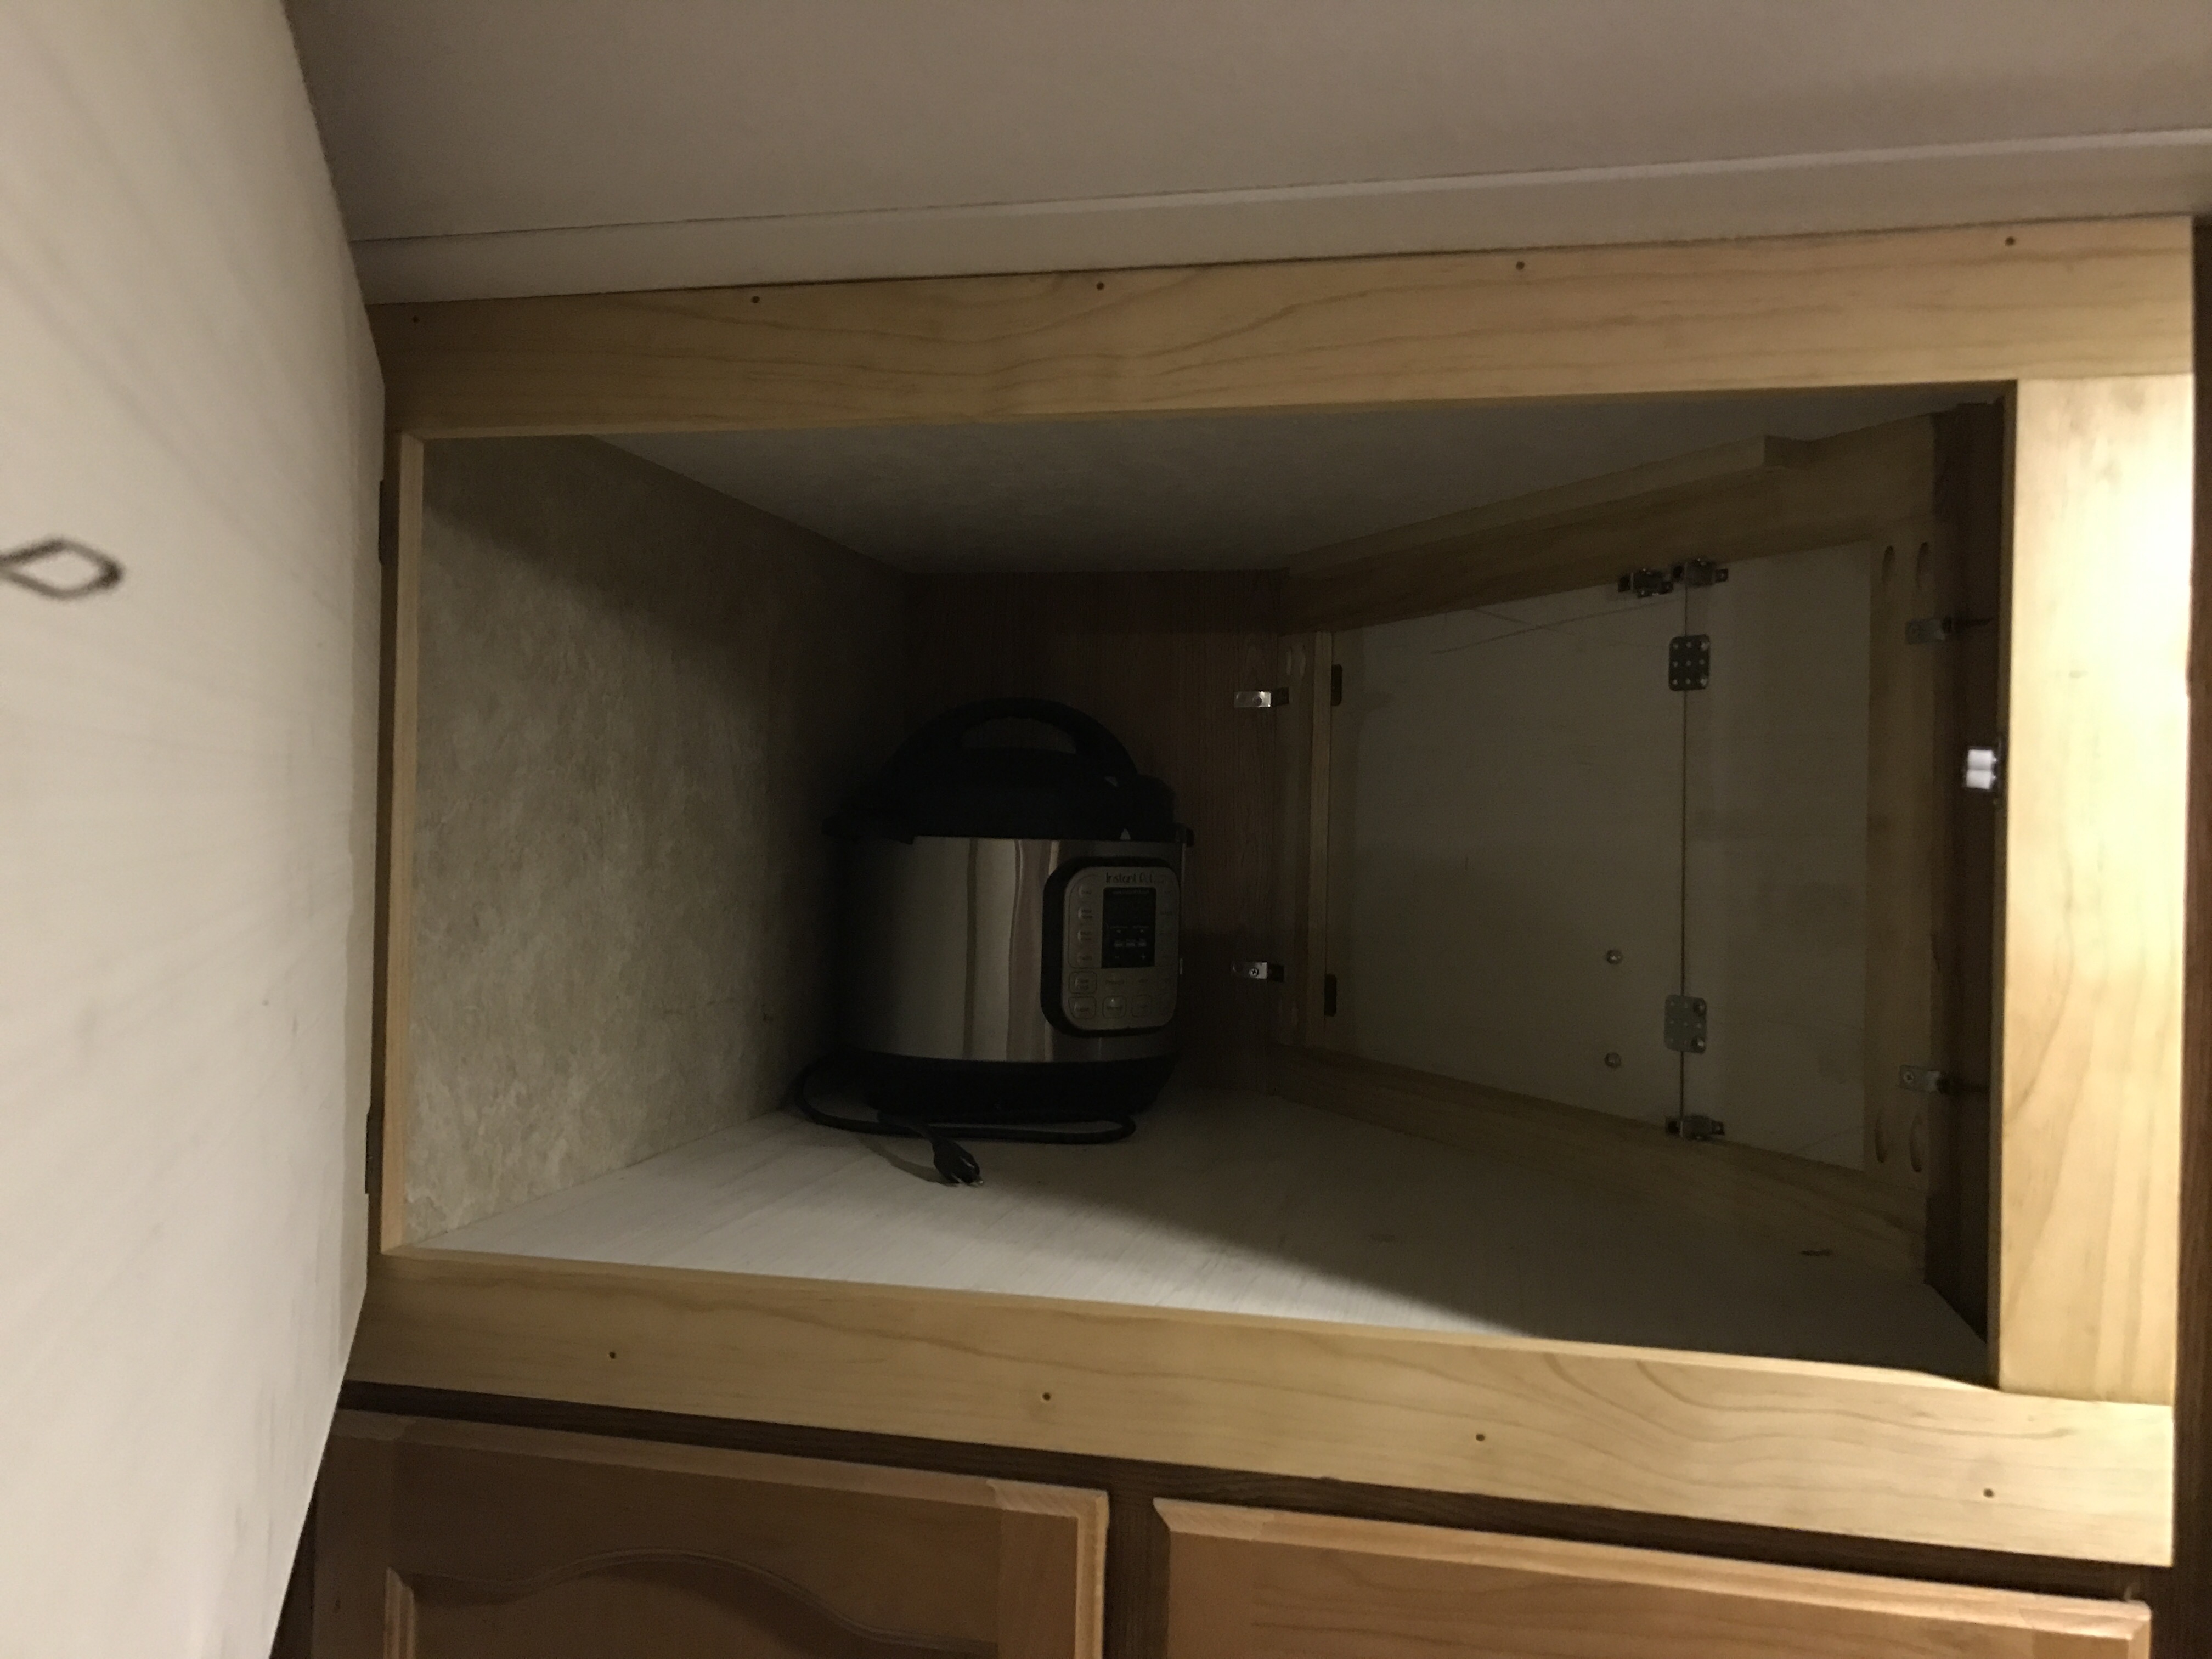
To give you an idea of the space inside the new cabinet, this is our 8-quart Instant Pot in its new home.