By: Kevin
This project occurred a few weeks ago, but with the holidays I am just now getting around to posting about it.
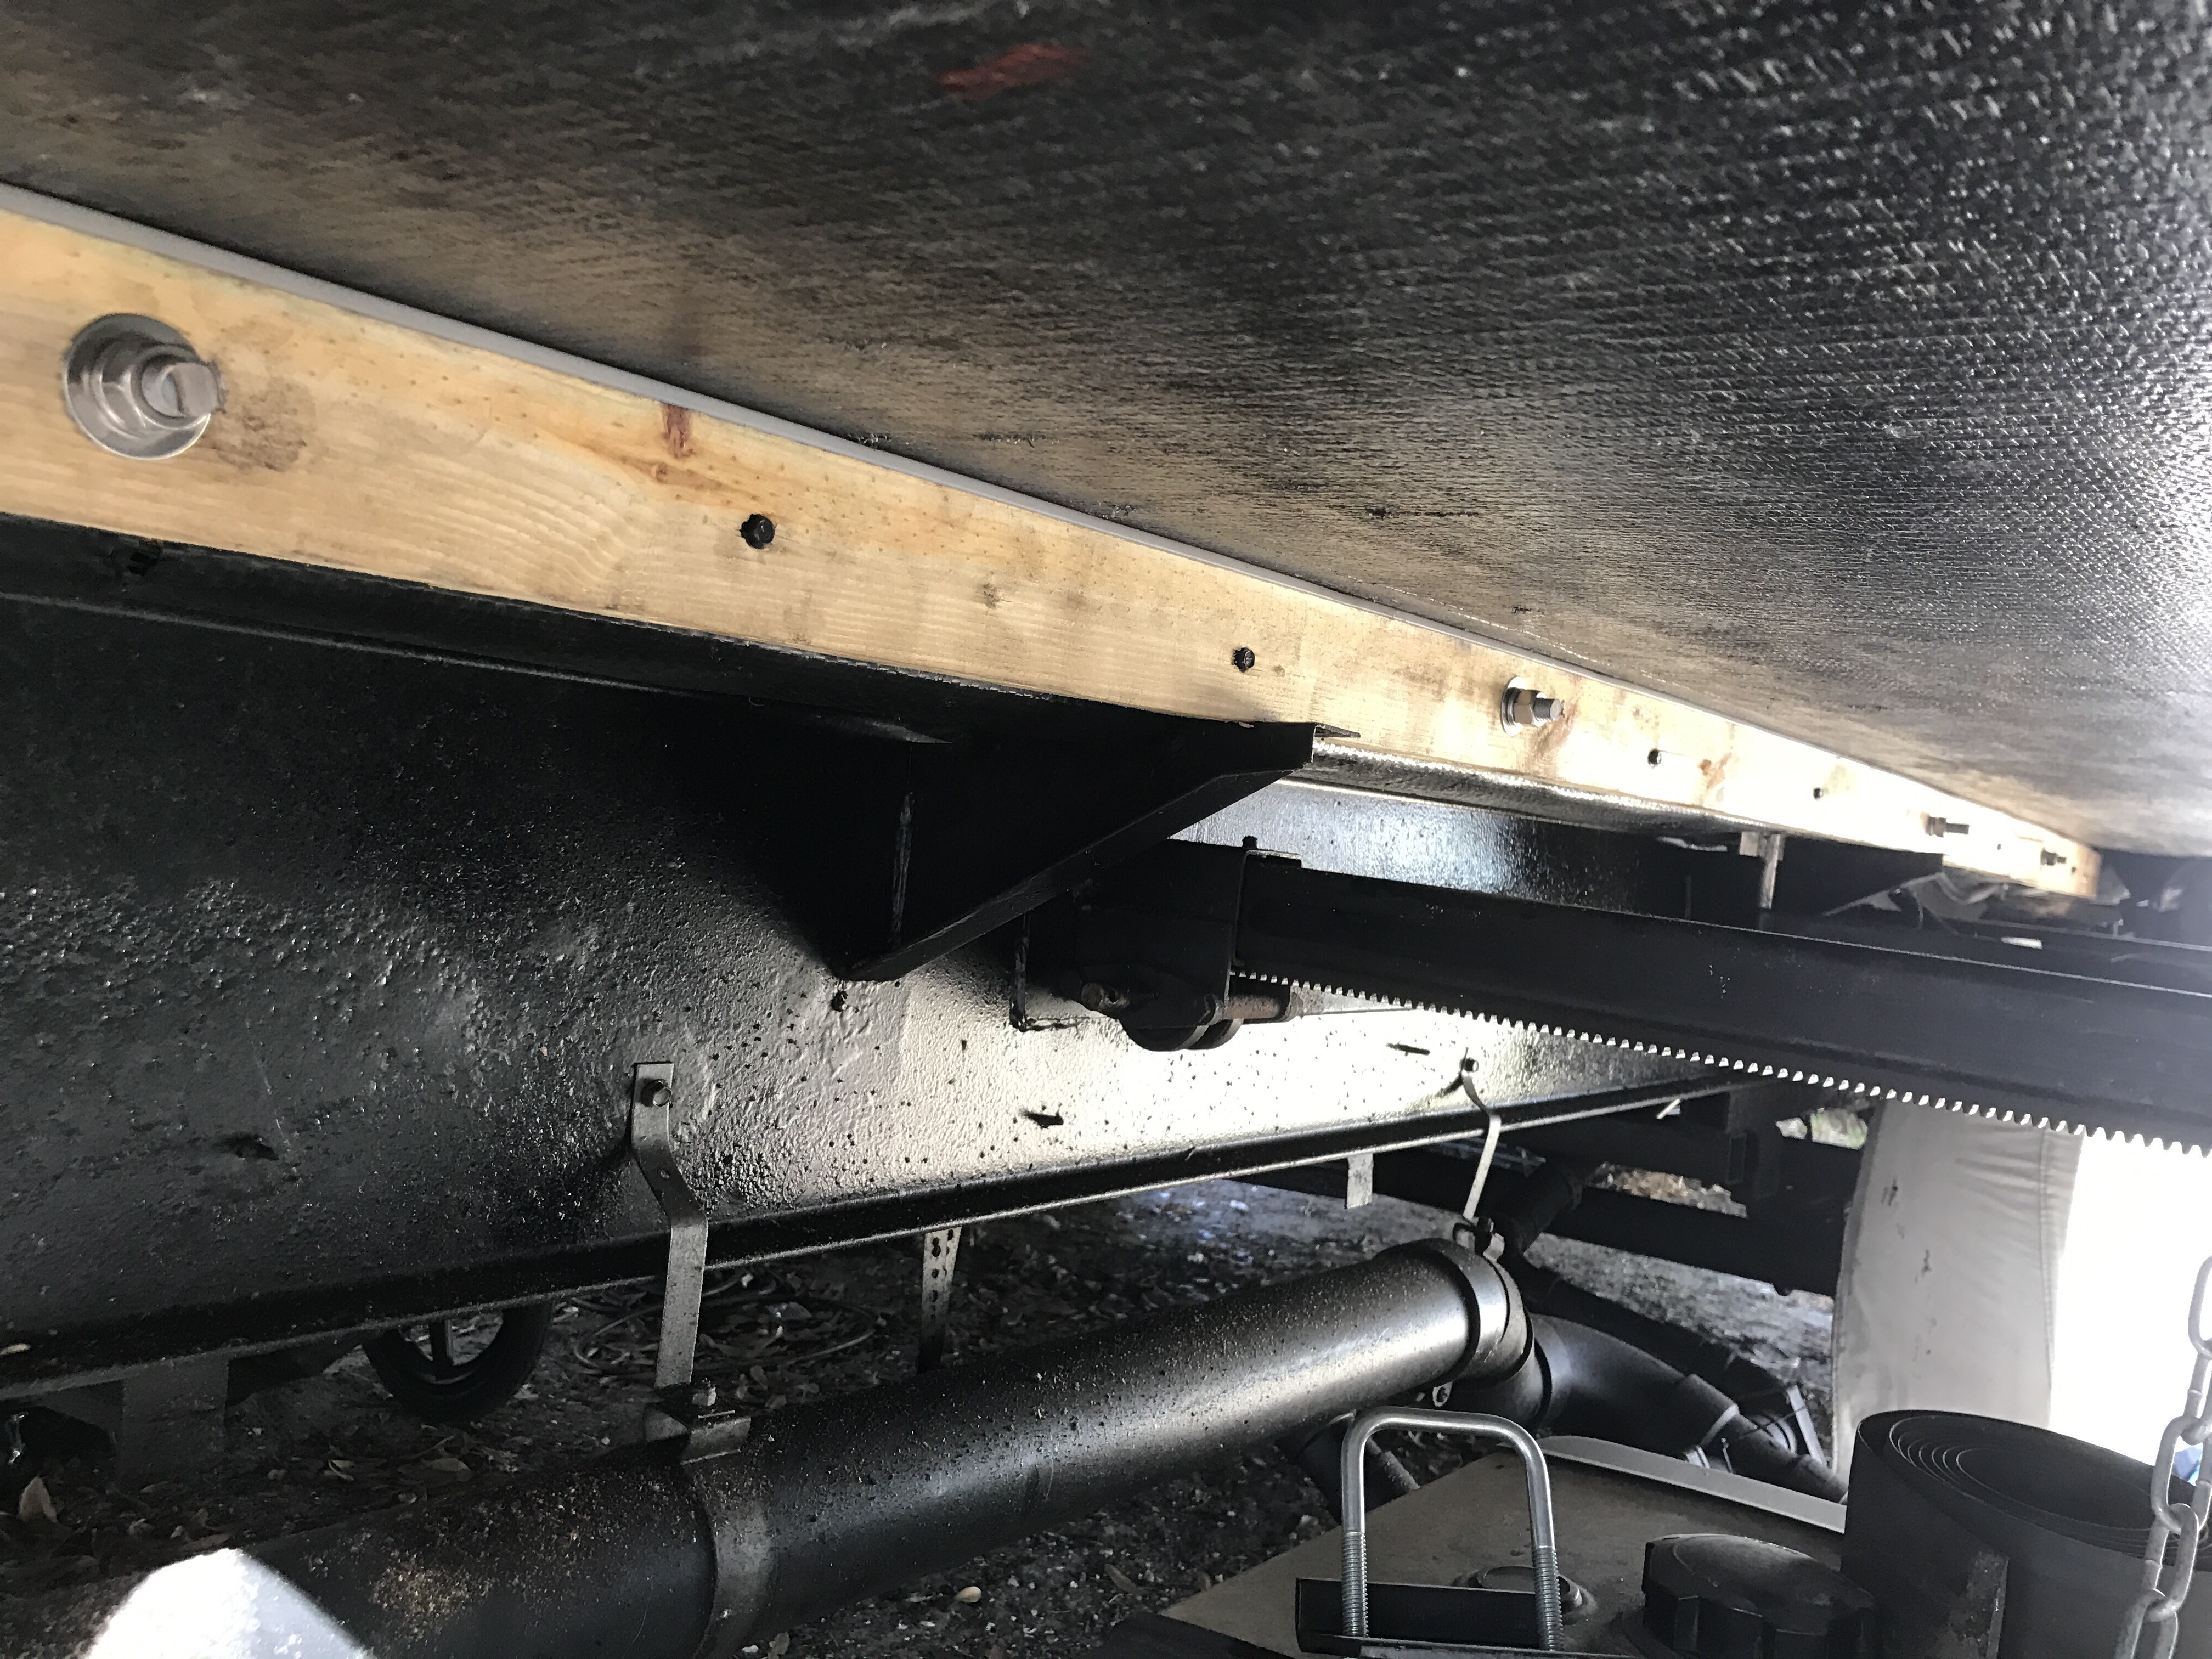
We recently removed our factory-installed RV dinette and replaced it with a new sleeper sofa and table. More about that project can be read here. As we were installing the sofa we noticed that the slide-out floor was even, if not a little lower than the main flooring on the aft end of the slide-out while the floor was raised above the main floor by about 3/4″ on the forward edge of the slide-out. To us that meant that there was a structural problem on the aft end of the slide-out. This really didn’t surprise us too much as we already had done some floor and wall repair in that general area due to a leak that took us a few months to track down and stop. A quick look under the slide revealed some soft wood and upon further examination revealed pretty much a complete lack of structure under the aft slide-out. With the assistance of Oliver, a recently-made friend and fellow RVer in the campground, we started tearing into the framing/structure under this section of the RV. We pulled out wet/rotten wood with our bare hands, further showing us the lack of structure the wood was providing. 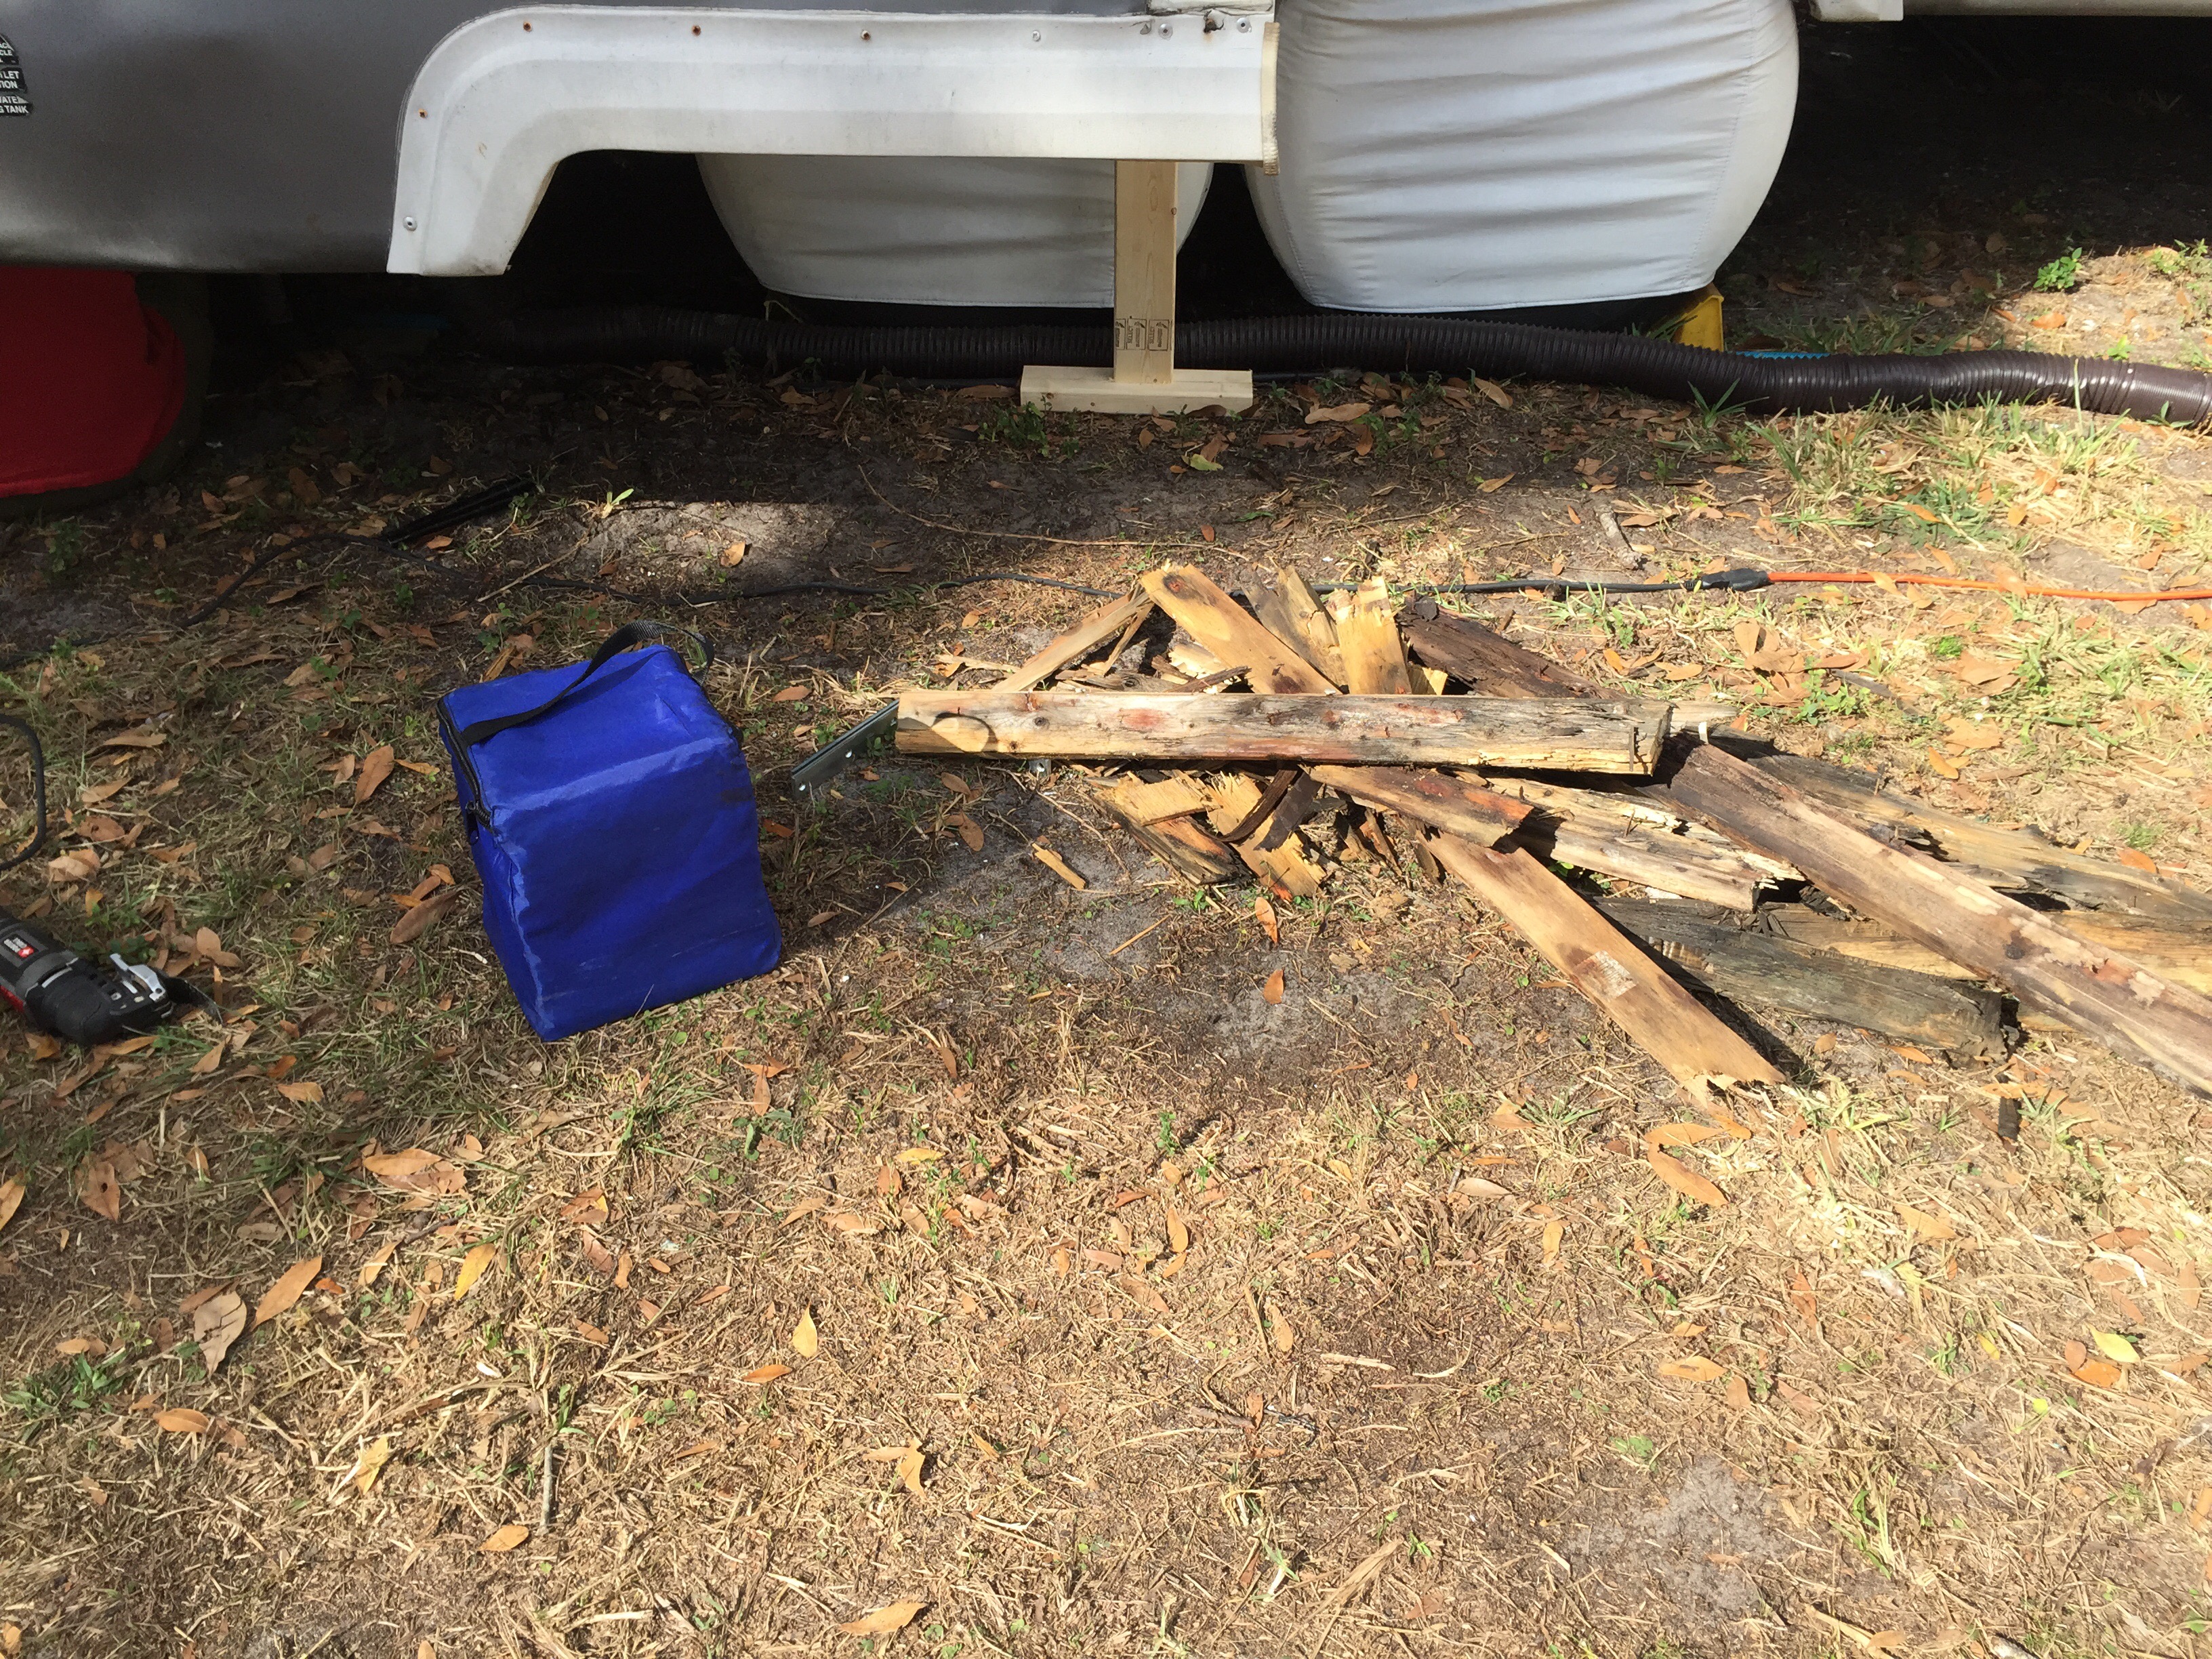 Once we realized the extent of the damage, I made a trip to Lowe’s for supplies. We placed a support structure under the slide so it would not end up on top of us while we were working, and used the supports to raise the slide an inch or so to be able to work on the floor transition that the slide was supposed to ride across while moving the slide-out room inward or outward.
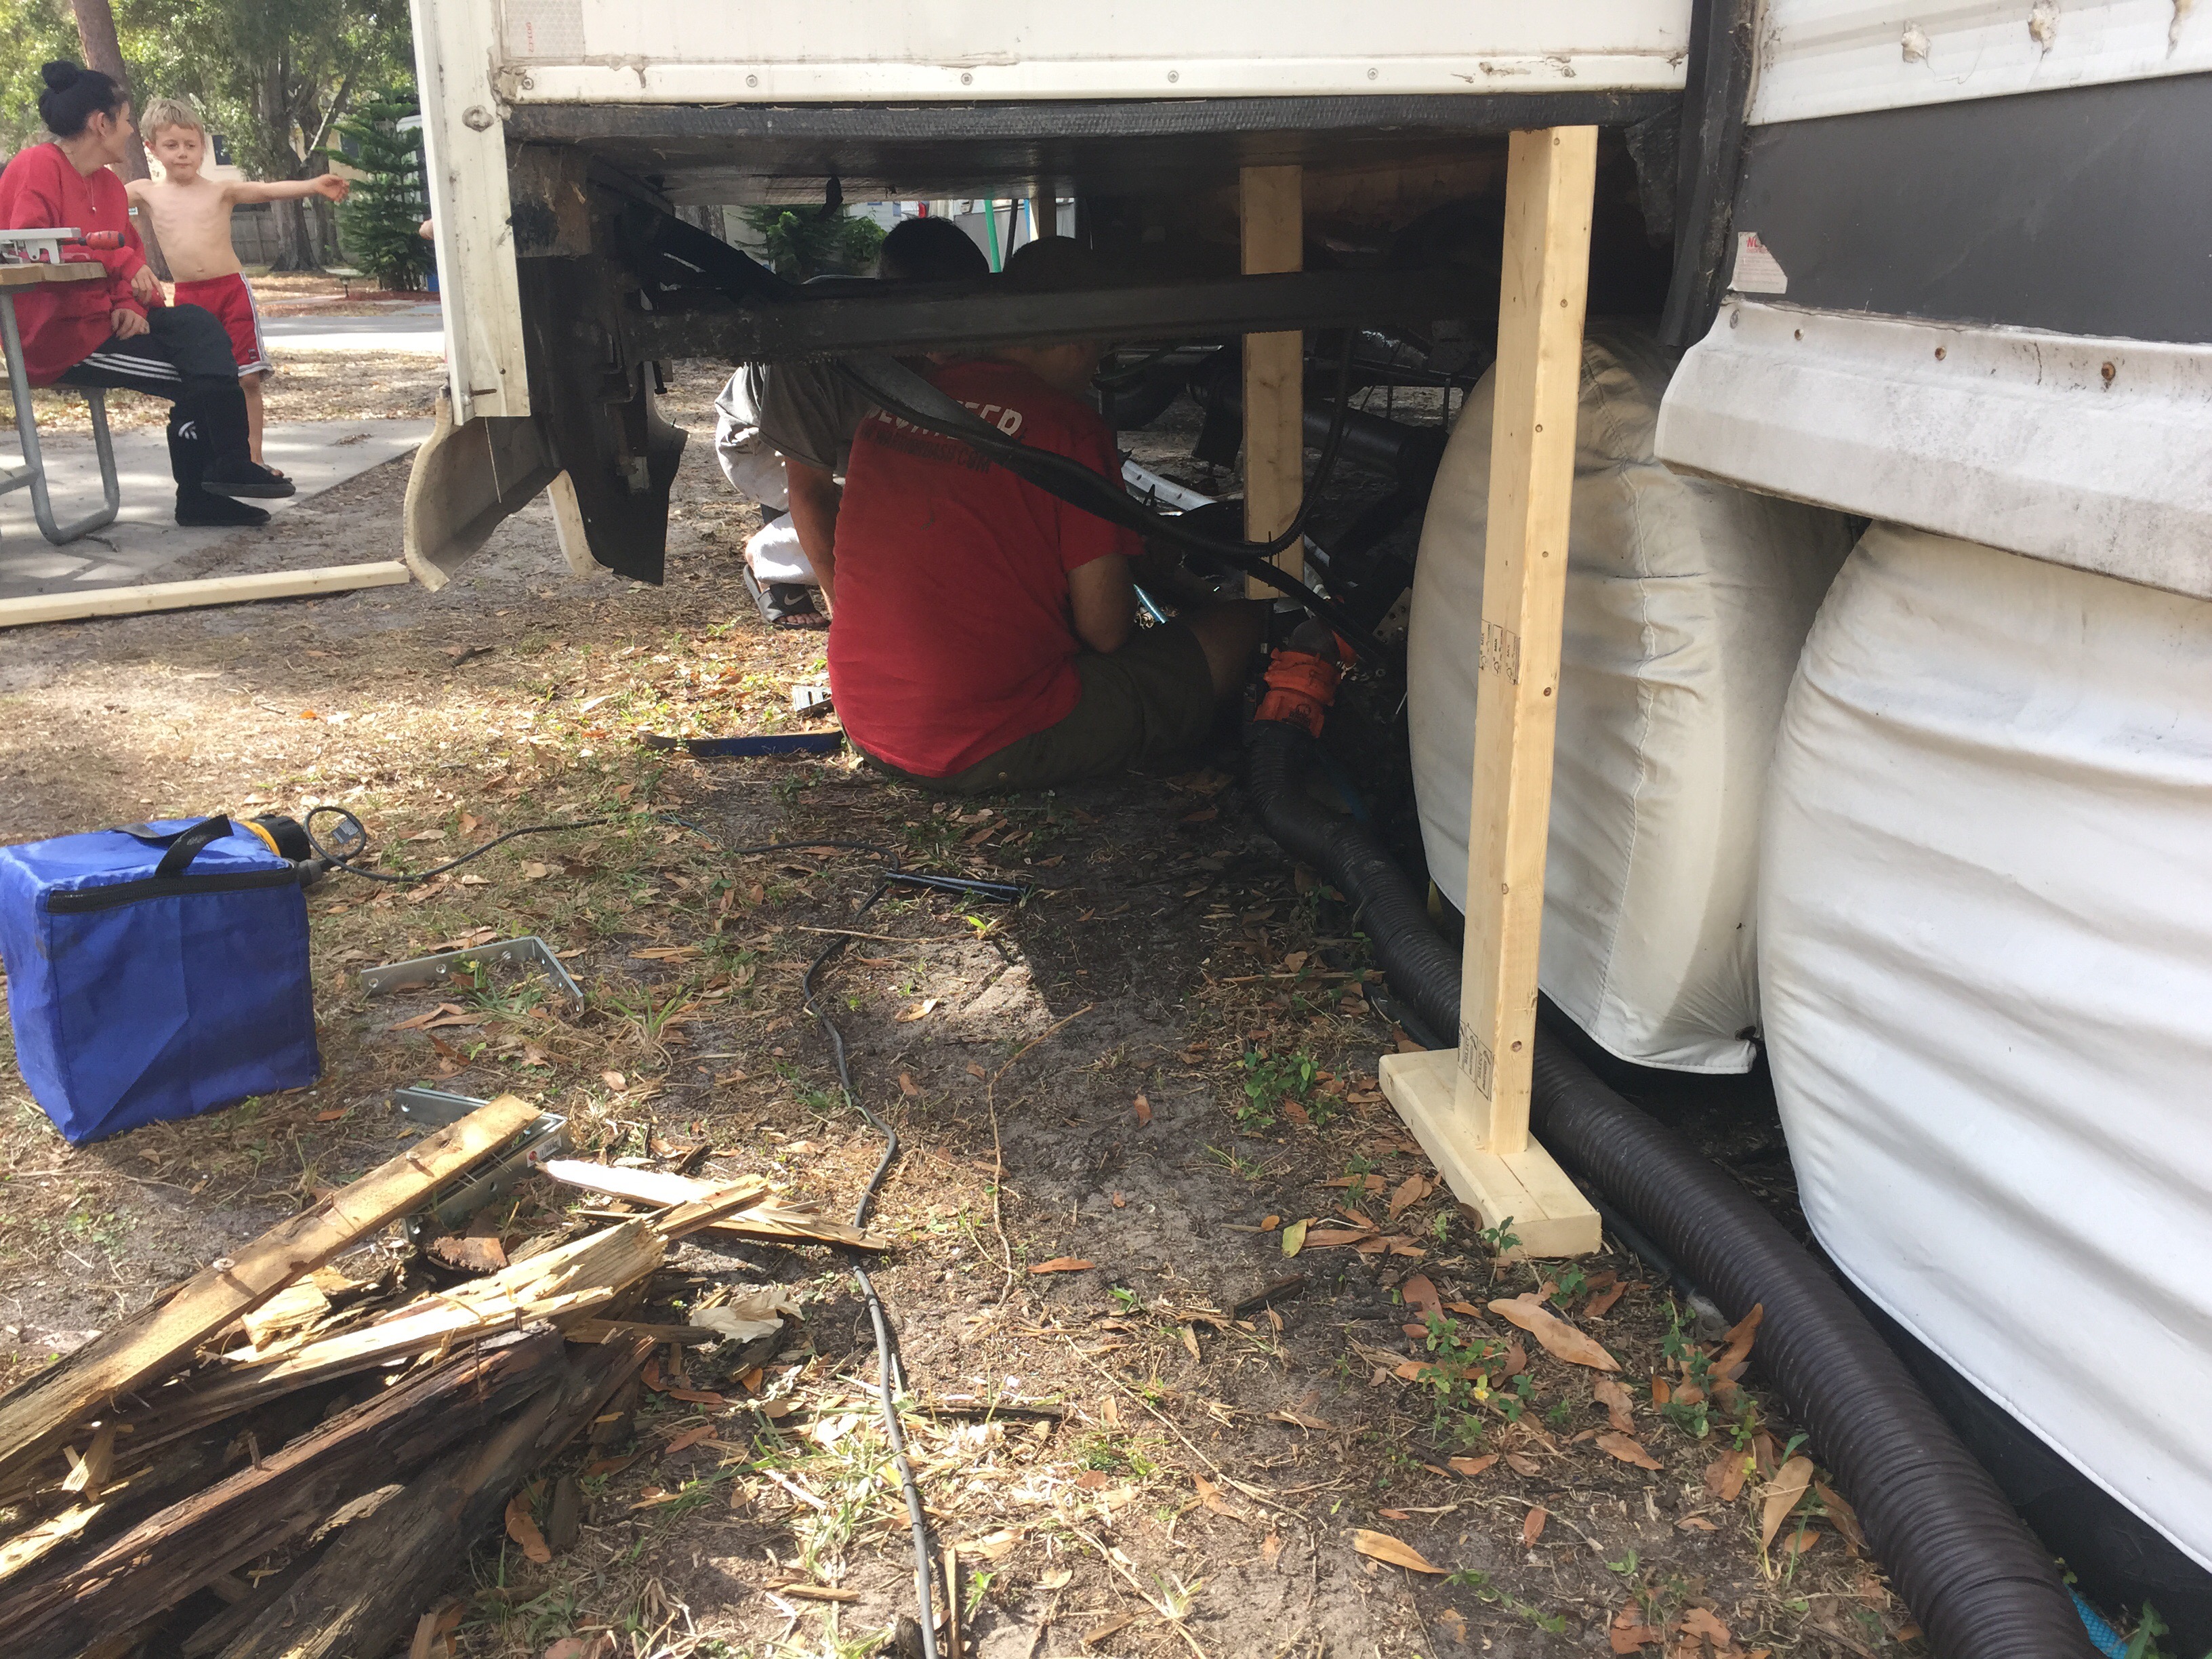 We were then free to remove all the rotten wood, place new wood supports under the slide and reattach the transition to the new wood. We used long carriage bolts and lag screws to hold everything together and give it more strength than it probably had when it rolled out of the factory. We used pressure treated wood and galvanized carriage bolts so weather/wetness should be less of an issue moving forward. I was happy that, with the help of Oliver, the project was pretty much completed within one day. I still have a rubber wiper seal to attach and some finishing touches with a special repair tape (since we had to cut back the underbelly wrap to re-structure), but I can do that fairly quickly and on my own. The slide-out now sits at the proper height on both the fore and aft ends, and rides across the floor transition as it is supposed to do. I am very happy with the project and know it will be solid for quite some time to come.