
By: Kevin
When we purchased our RV back in the fall of 2014 it had a leak. The leak was a challenge to track down, but I found it and fixed it. However, there was some rot and damage done to the wood in the wall and floor of the RV. I have, over a few work sessions, completed the repairs needed including replacing some sub-flooring in the kitchen/common area. This area had cheap sheet vinyl flooring and at the time of the repairs I simply cut it back to complete the repairs and used staples and duct tape to keep the edges from becoming trip hazards, leaving the newly repaired plywood sub-flooring exposed. It has been in this state of repair since …Spring 2016.
Well, Heather has been reminding me that the project needed completing, but I really dreaded dealing with sheet vinyl in an area with SO many edges and corners to trim around. However, with Miss Kicky Feet learning to army crawl and increasing her mobility swiftly, we needed to have a floor that was safe for her to crawl across.
We were looking at laminate flooring, but with the vast differences in climate and humidity across the U.S. as we travel, as well as its susceptibility to swelling when moist, this was not a good option for us. Instead we found interlocking vinyl planks with a color scheme and variability that we loved. Once assembled the interlocking planks would form a waterproof floor just like sheet vinyl, but since it comes as 6×48″ planks, it would be vastly easier to work with than sheet vinyl. Ladies and Gentlemen, we have a winner!
The removal of the sheet vinyl went quickly with a sharp utility knife and I was soon ready to start laying down the underlayment. Underlayment is a thin layer between the sub-floor and the vinyl that acts as a cushion for the floor, gives it some acoustic dampening, provides a moisture barrier, as well as providing a bit of insulation. This is taped together with aluminum tape to create a seamless layer. The new floor is a floating floor, meaning there are no screws, nails, or glue to hold each plank in place, so the underlayment integrity is maintained, instead of many nail holes punched through it. This is an added benefit in an RV setting because as the RV shifts and adjusts rolling down the road, the floor is able to float across the underlayment instead of binding.
 The planks went down quickly as I snapped them together and tapped them tight with a rubber mallet. The only real problem with installation was that I started it after dinner and at 11:00pm the neighbor knocked on our door and kindly reminded us that he could hear my rubber mallet thumping from his RV. Therefore, work was halted for the evening and resumed this morning. The rest of the install went smoothly and with a little bit of trim around the edges the new floor was complete. We love the color, durability, and the slight cushion in the floor as one walks across it. Heather loves that the floor is complete and safe for Miss Kicky Feet.
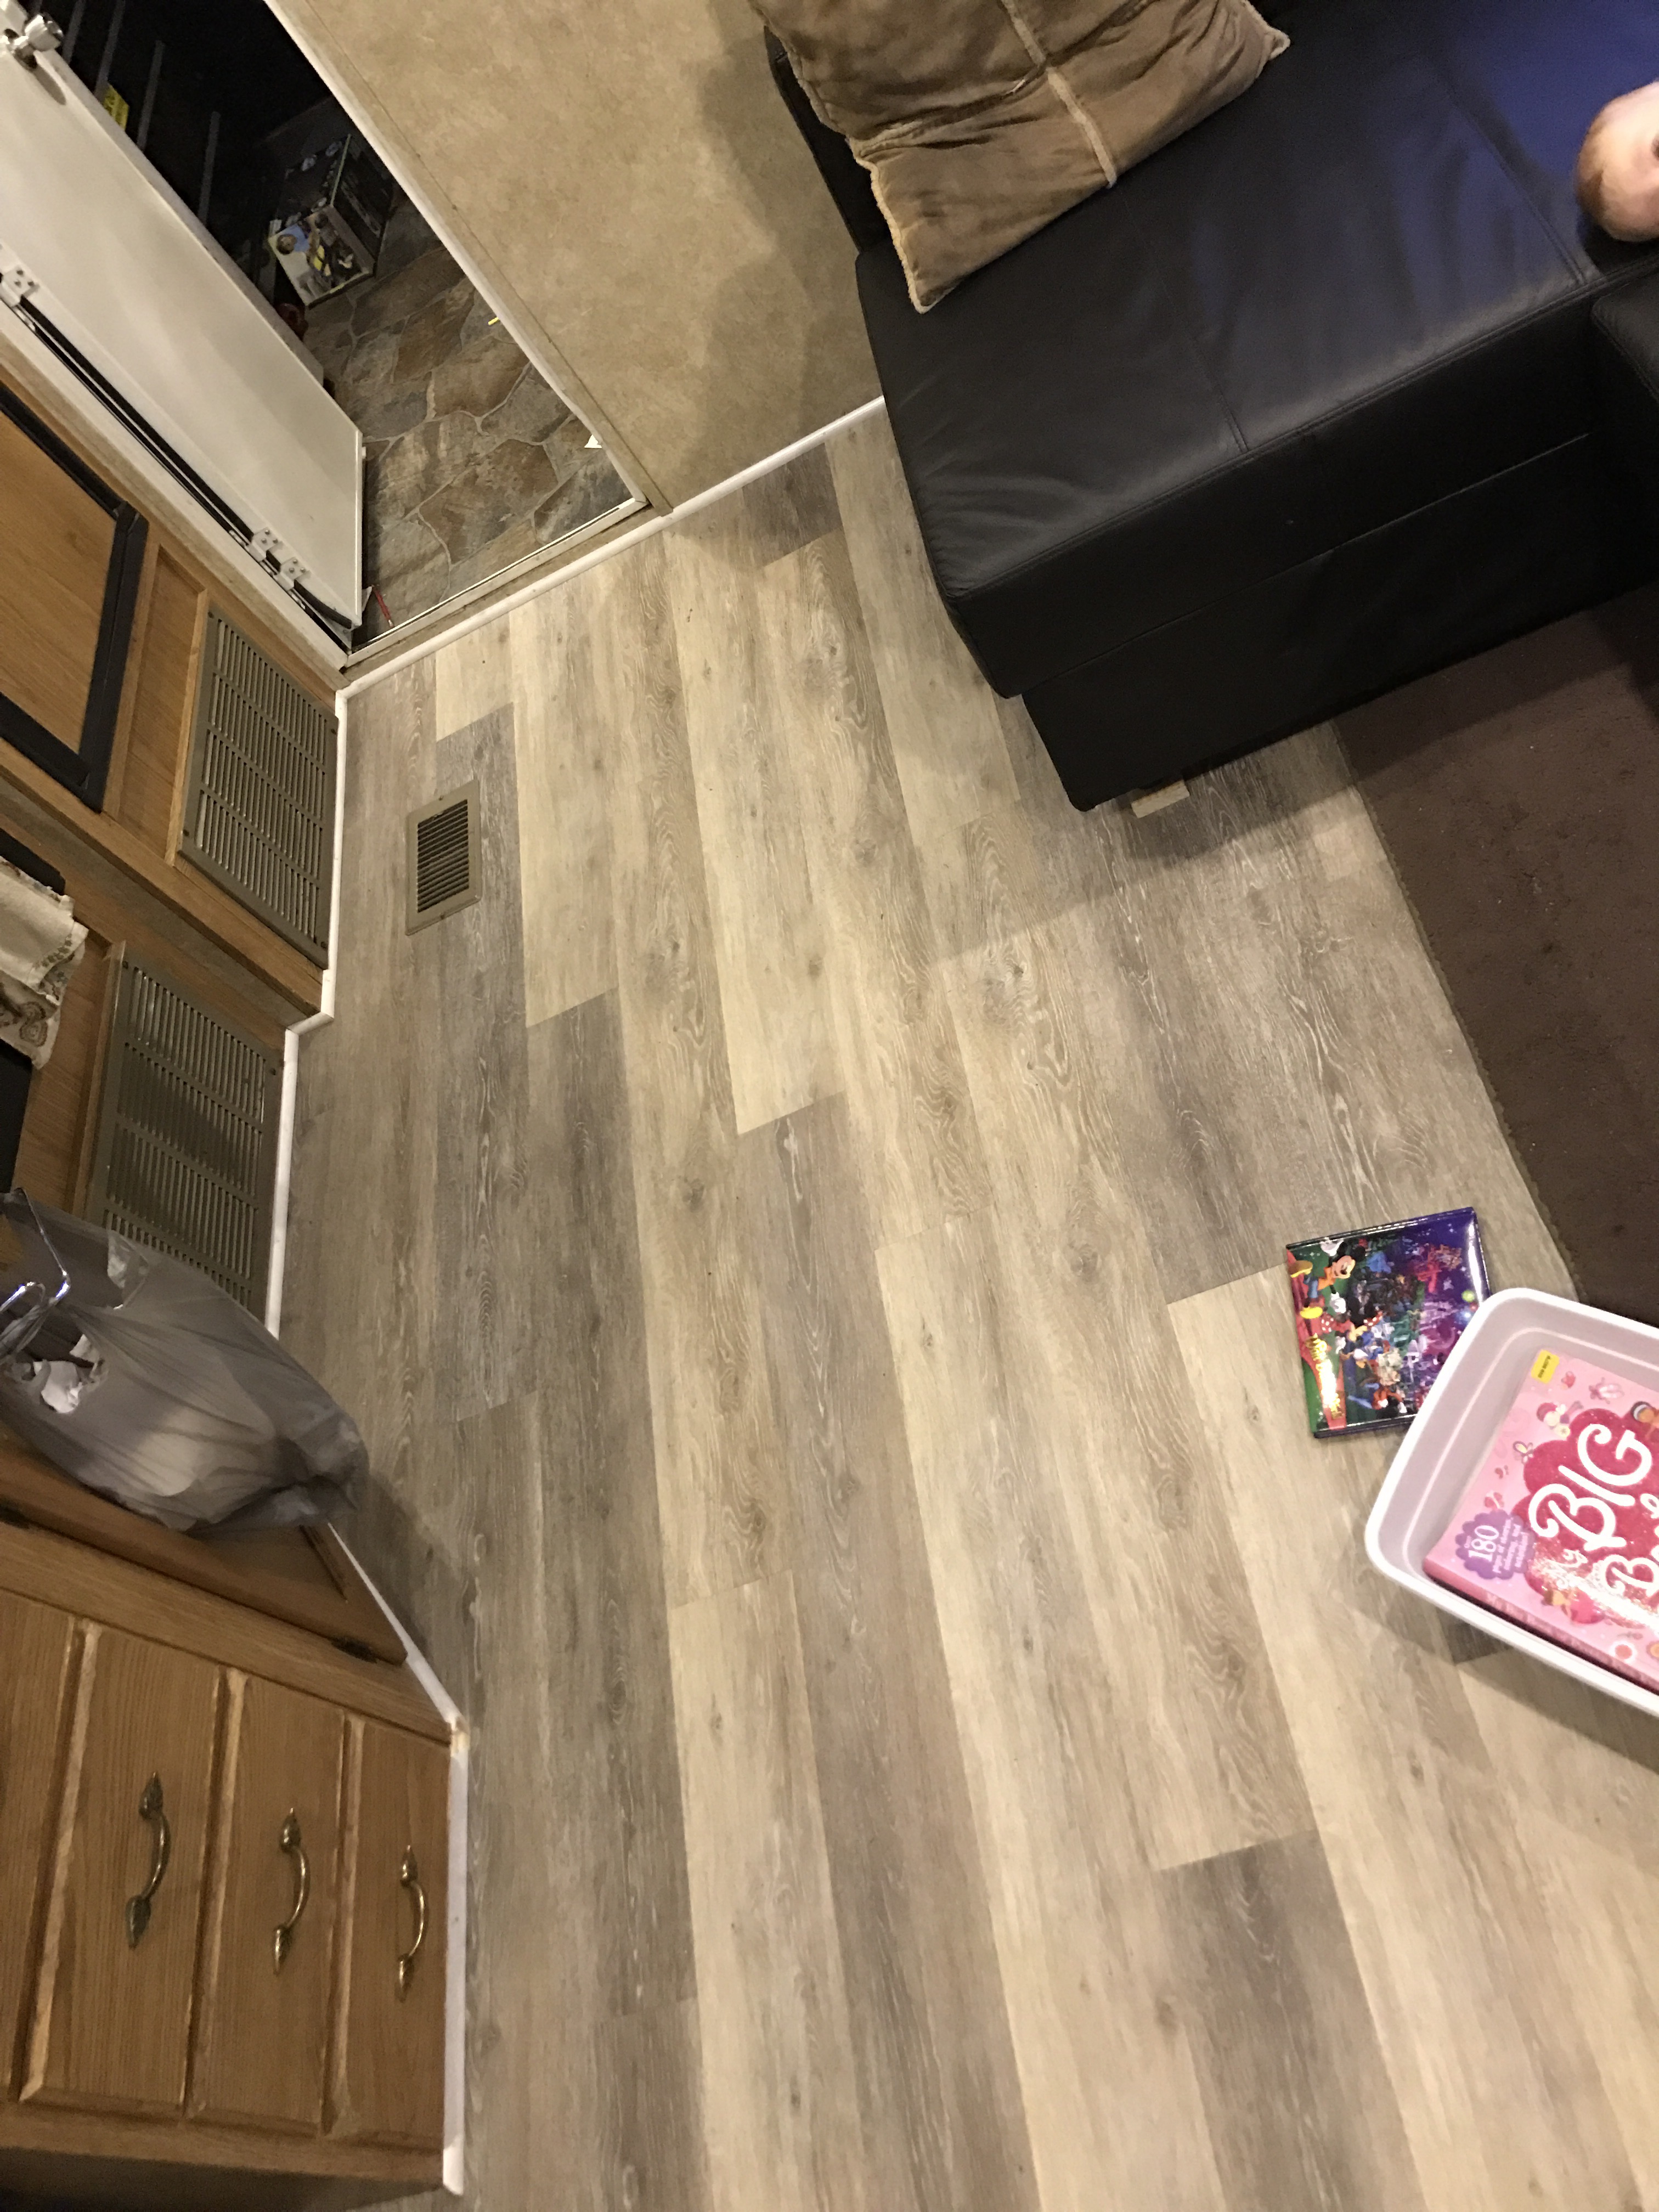

ok, Miss Kicky Feet, Grammy challenges you to find a corner of THAT to chew on!
LikeLike
Hurrah! Mom approves. You know, if momma’s not happy, nobody’s happy.
LikeLike